Decorative eggs on feet
#v11523
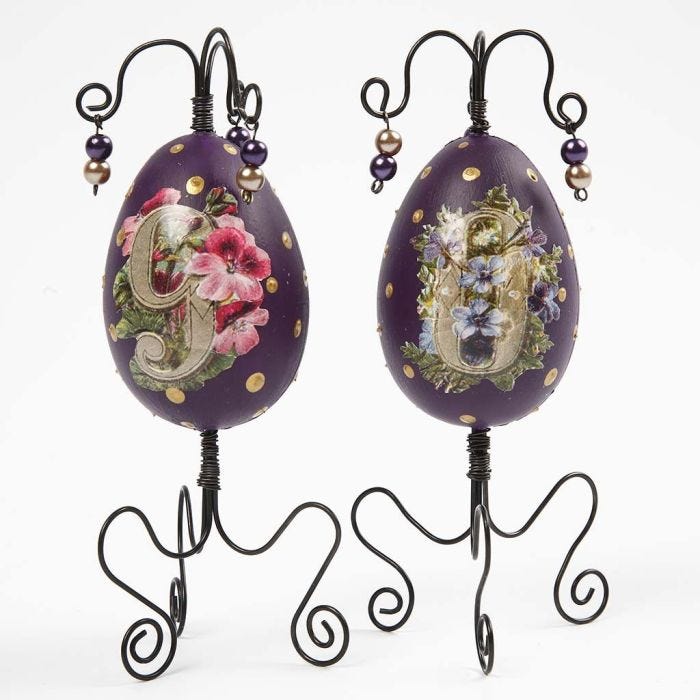
Embrace Spring and Easter with a couple of beautifully decorated eggs. The plastic eggs are painted with Plus Color paint, decorated with vintage die-cuts and fitted onto thick bonsai-wire.
Comment faire Téléchargez nos instructions étape par étape
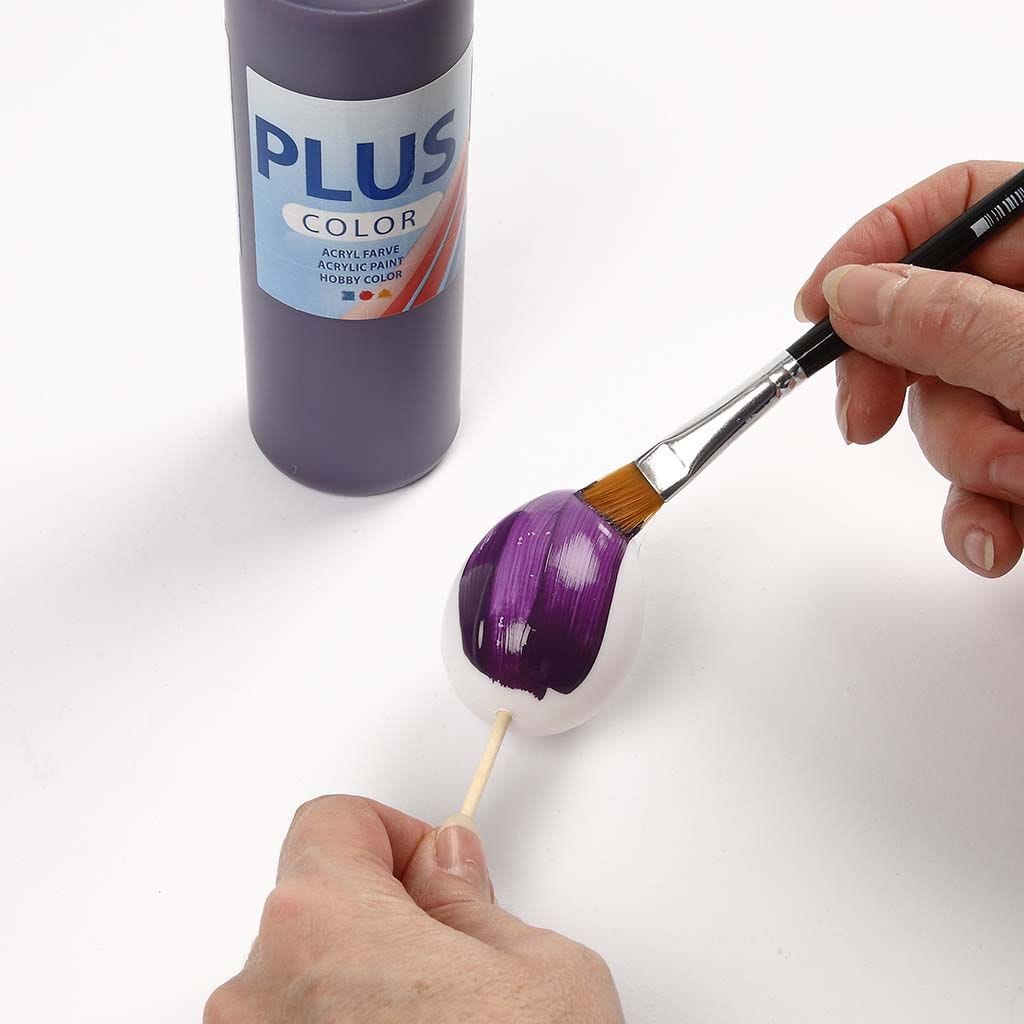
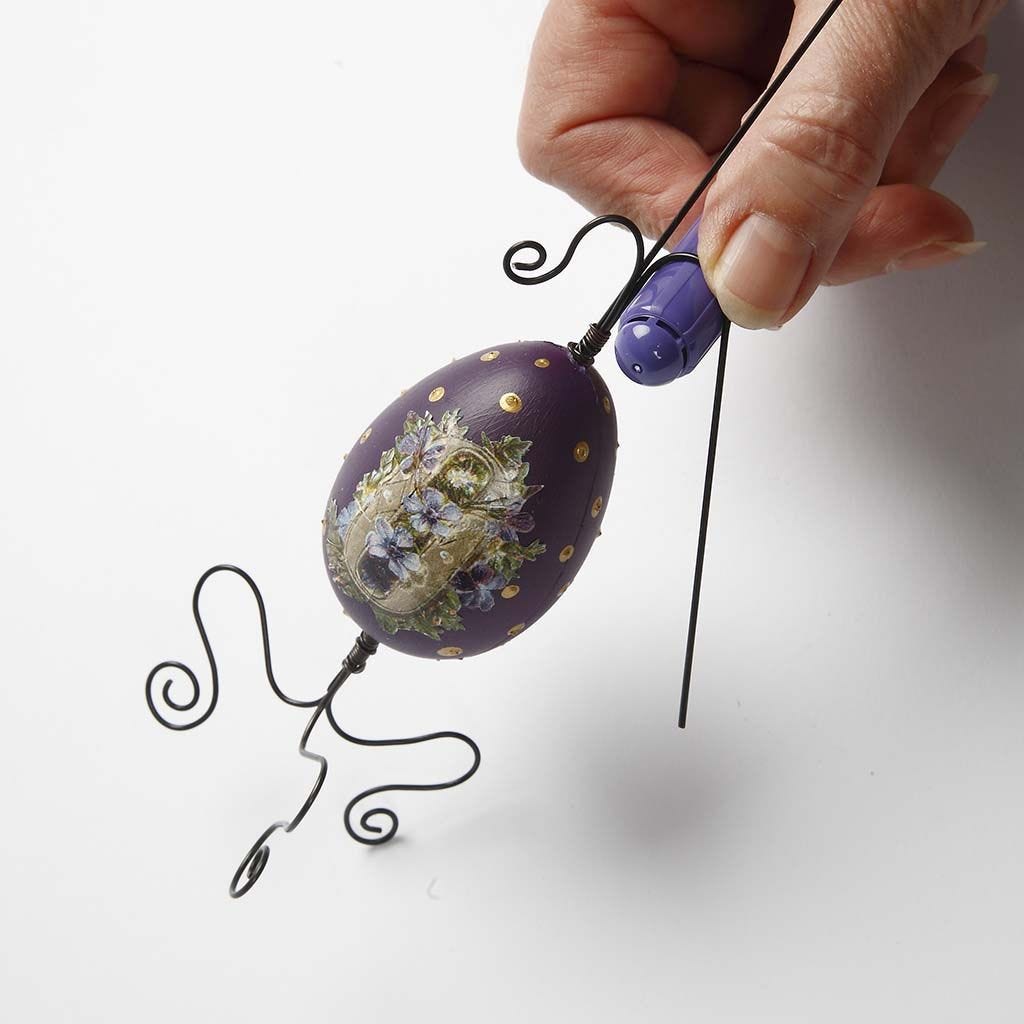
1 Make a hole in the top of the egg and insert a flower stick. Paint with quick strokes across the length of the egg. Plus Color paint dries quickly on non-porous surfaces, and then you get the finest result. Paint twice if necessary if you want to achieve a full coverage.
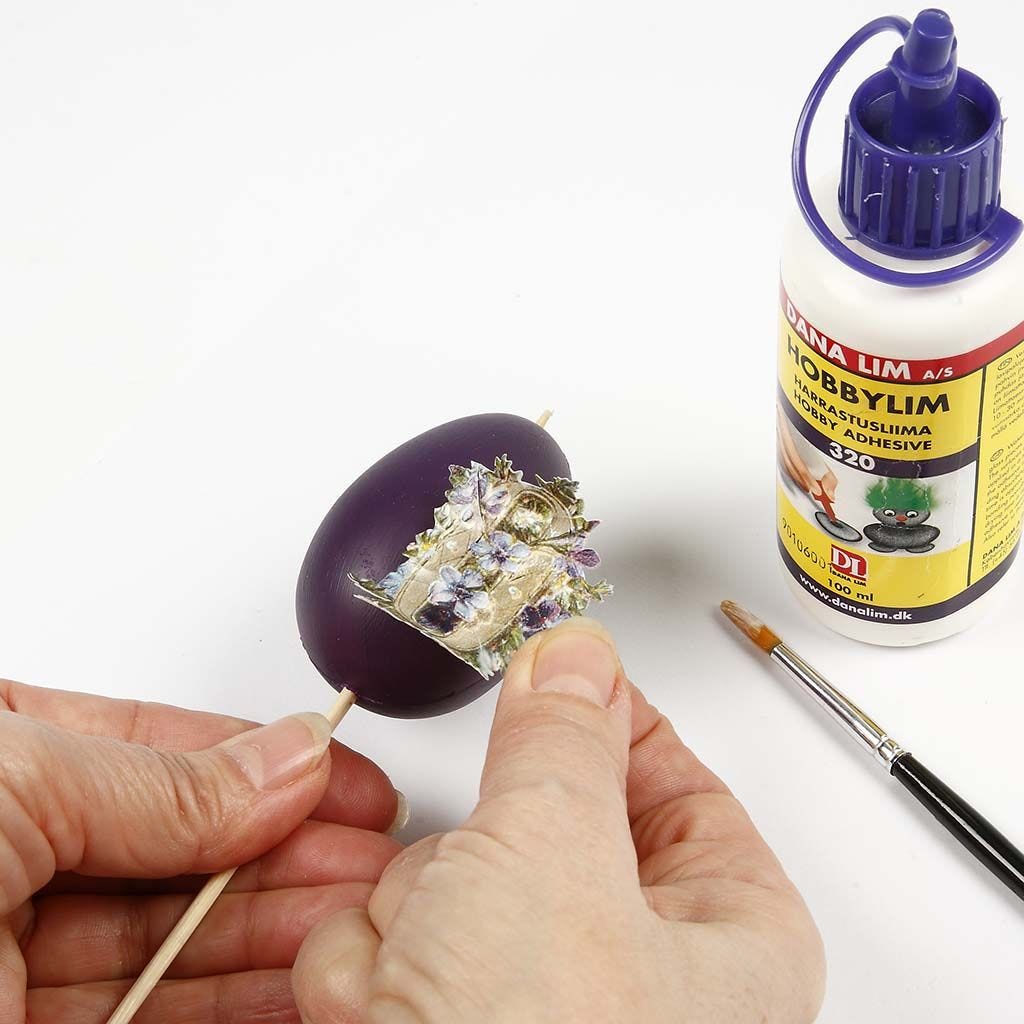
2 Trim the vintage die-cut and cut notches in the side. Glue on with hobby glue.
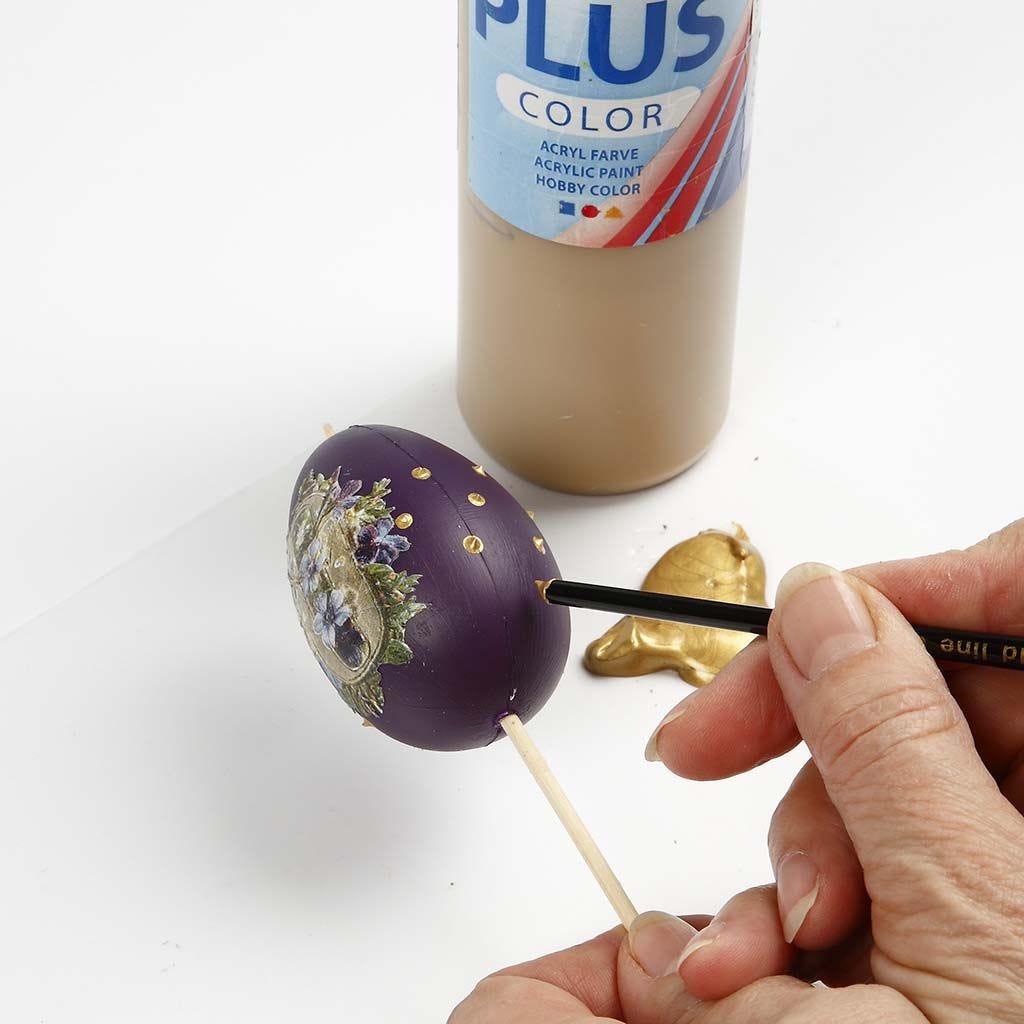
3 Make golden dots with the end of a brush handle.

4 Make the feet by bending thick bonsai-wire with round nose pliers around a pencil or a similar object. Make three identical feet for each egg.
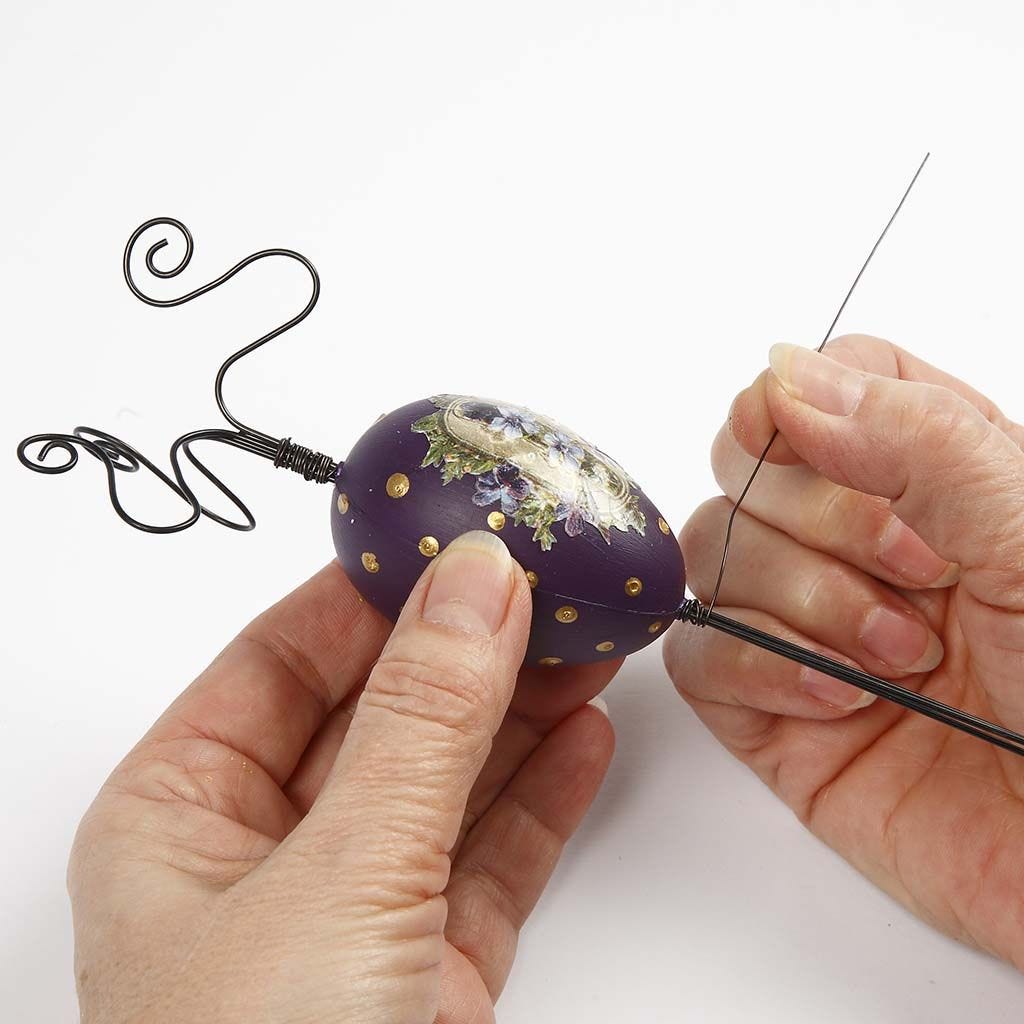
5 Assemble the three legs with a thin piece of bonsai-wire. Put the egg onto the assembled legs and twist again with a new piece of thin bonsai-wire.
6 Turn the three ends at the top as shown.
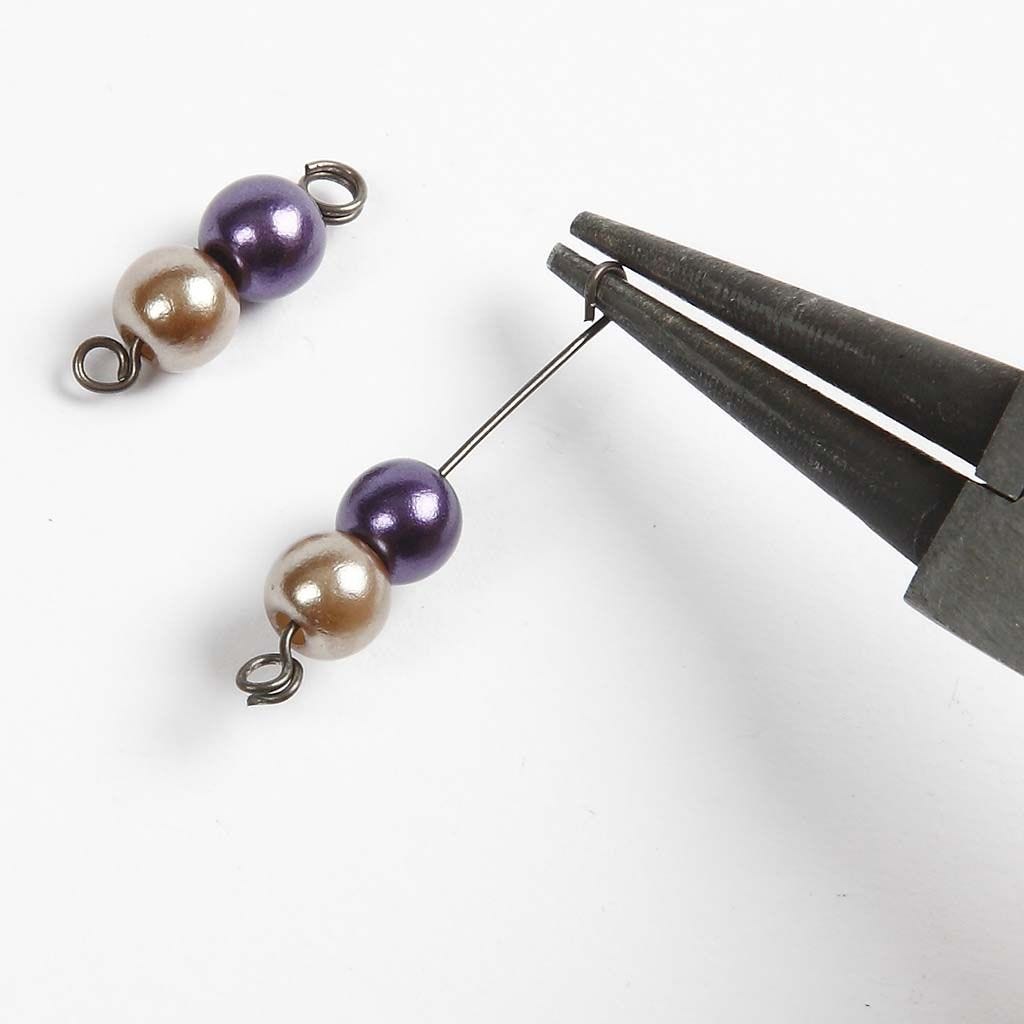
7 Make a small loop on a thin piece of bonsai-wire. Thread two beads onto the wire and turn to make another loop. Attach the pendants on the top as decorations.
Allez aussi explorer dans