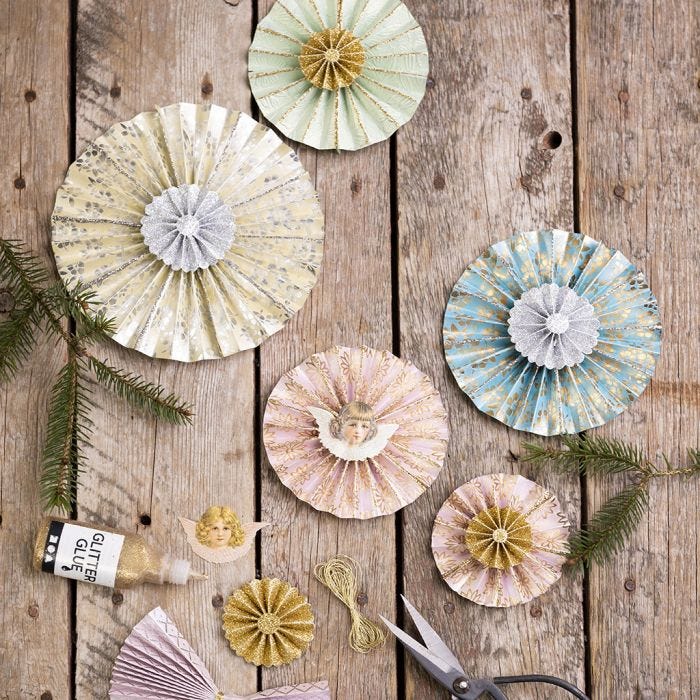
Rosettes faites avec du papier artisanal
#v15766
Pliez ces rosettes dans du papier artisanal et décorez plus amplement en utilisant des découpes vintage, des rosettes à paillettes autocollantes et de la colle à paillettes.
Comment faire Téléchargez nos instructions étape par étape
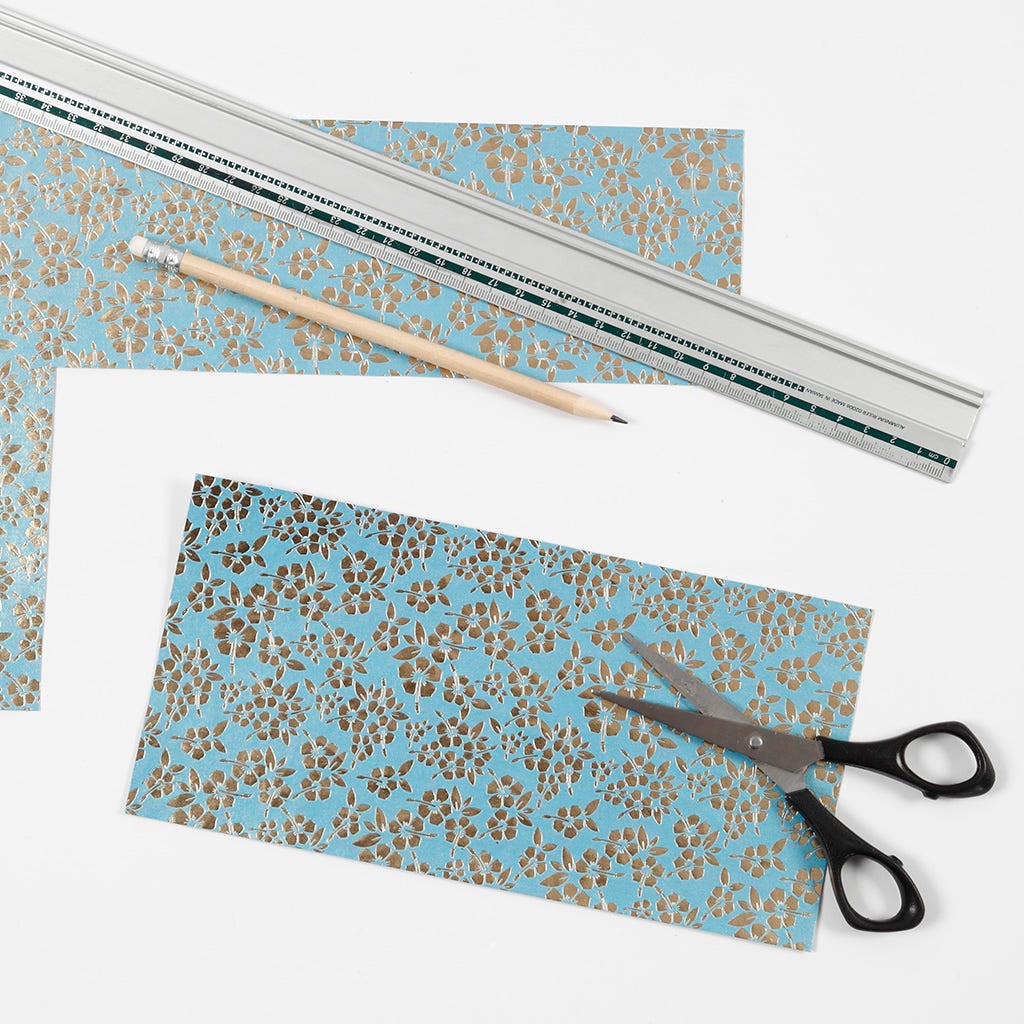
1 Découpez un morceau de papier artisanal de manière à ce qu'il soit deux fois plus long que large. La largeur du papier détermine le diamètre de la rosette une fois terminée. Nous avons ici utilisé un morceau de papier mesurant 26 x 12 cm.
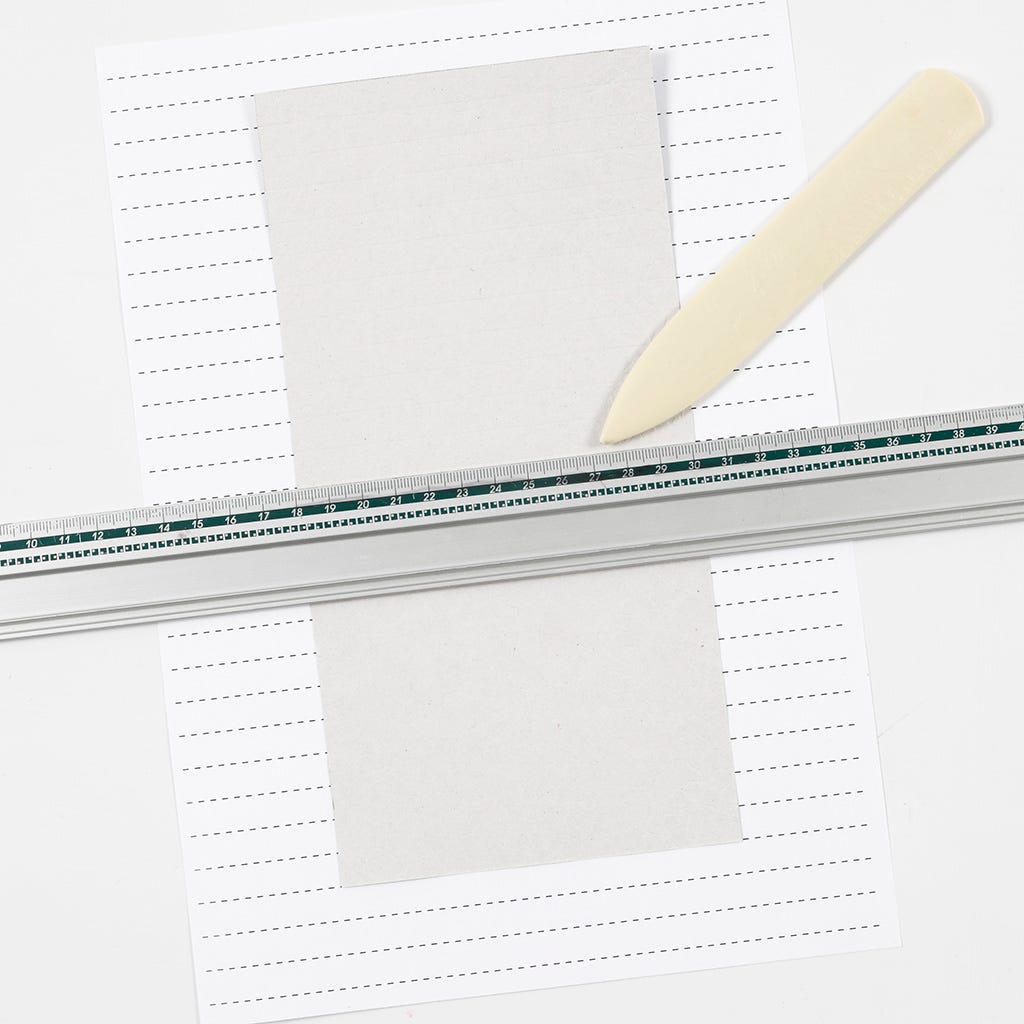
2 Place the piece of paper completely straight on a piece of lined paper or on a cutting mat. Now place a ruler so that it is aligned with the lines on the lined paper at both sides as shown in the photo. Score each line (approx. 1 cm apart). Once the entire piece of paper is scored, fold the paper in a 1 cm wide concertina fashion along the score lines, alternating from side to side.
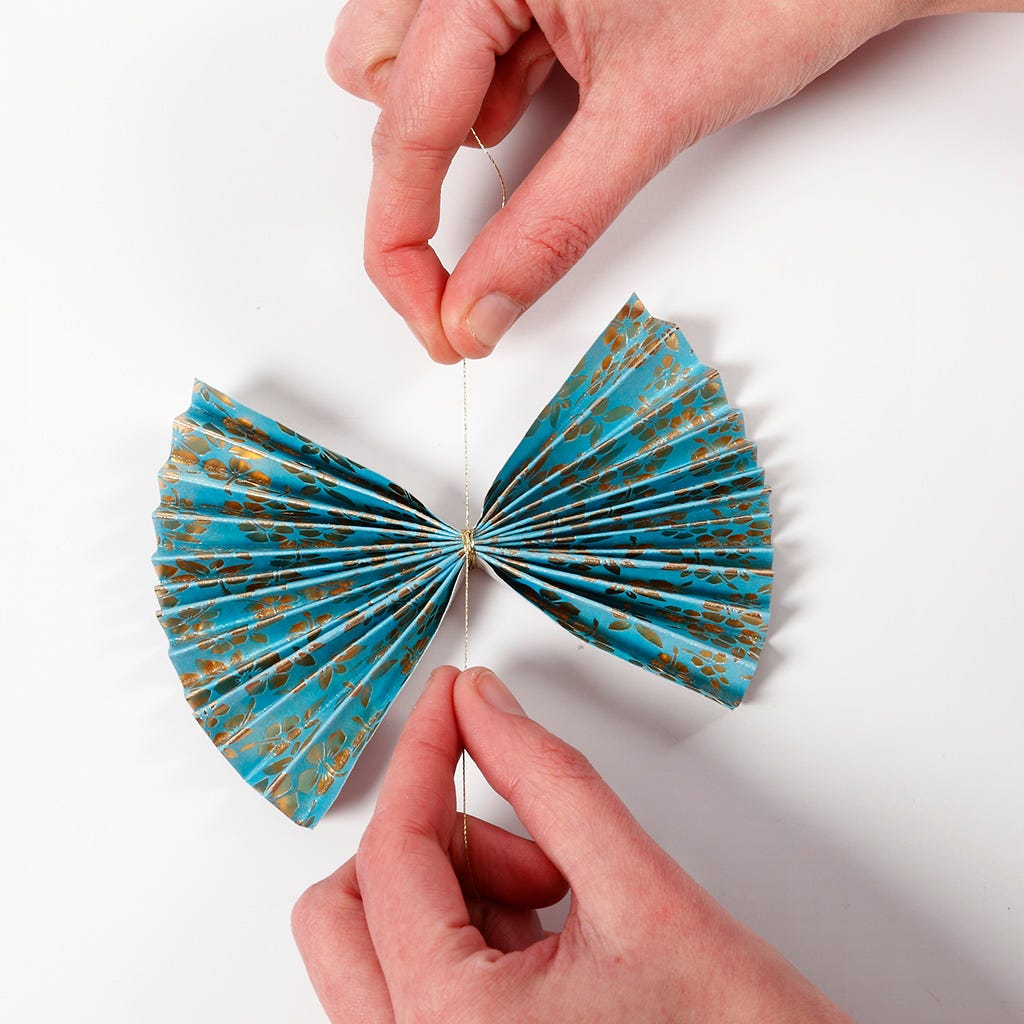
3 Tie a piece of DMC metallic thread around the exact middle of the pleated paper.
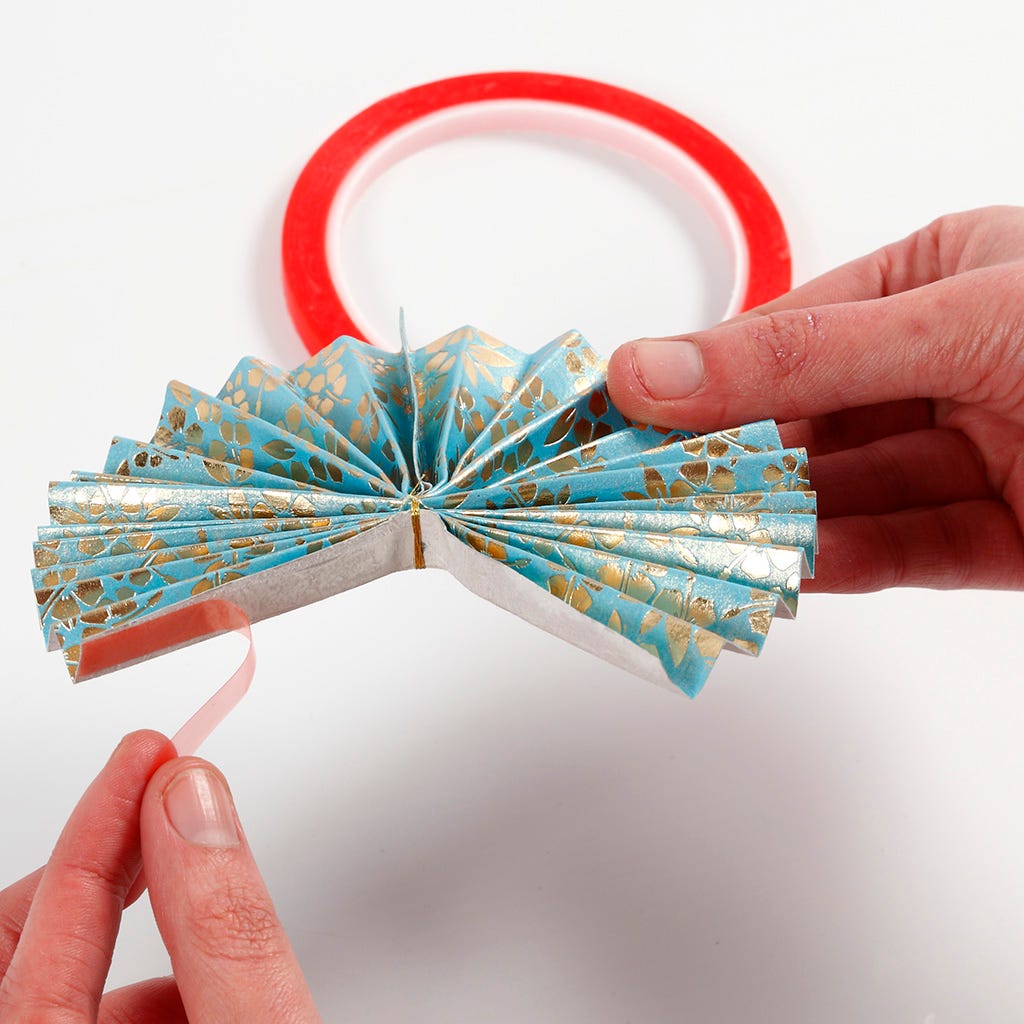
4 Assemble the sides of the rosette using double-sided adhesive power tape.

5 Here is the assembled rosette.
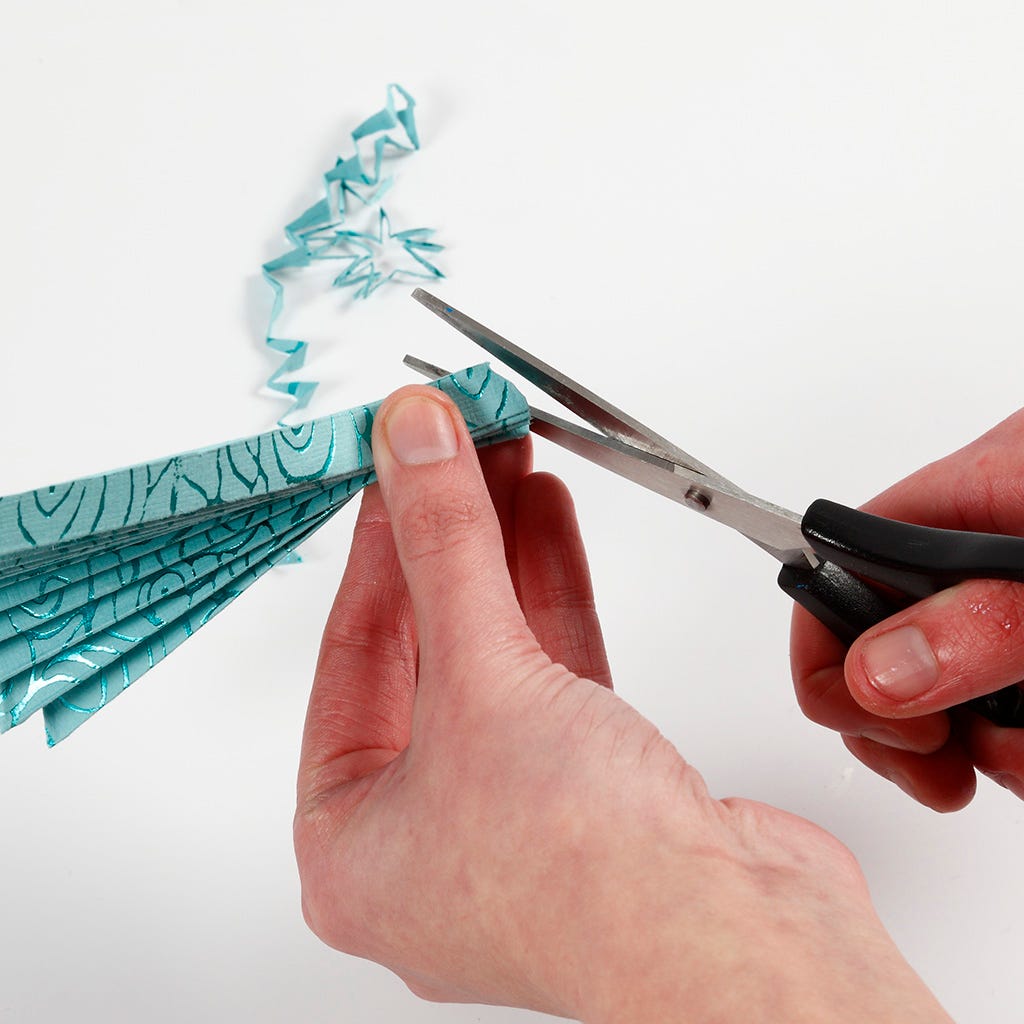
6 A tip: prior to assembling the rosette, you may cut points at both ends of the folded paper for a wavy edge.
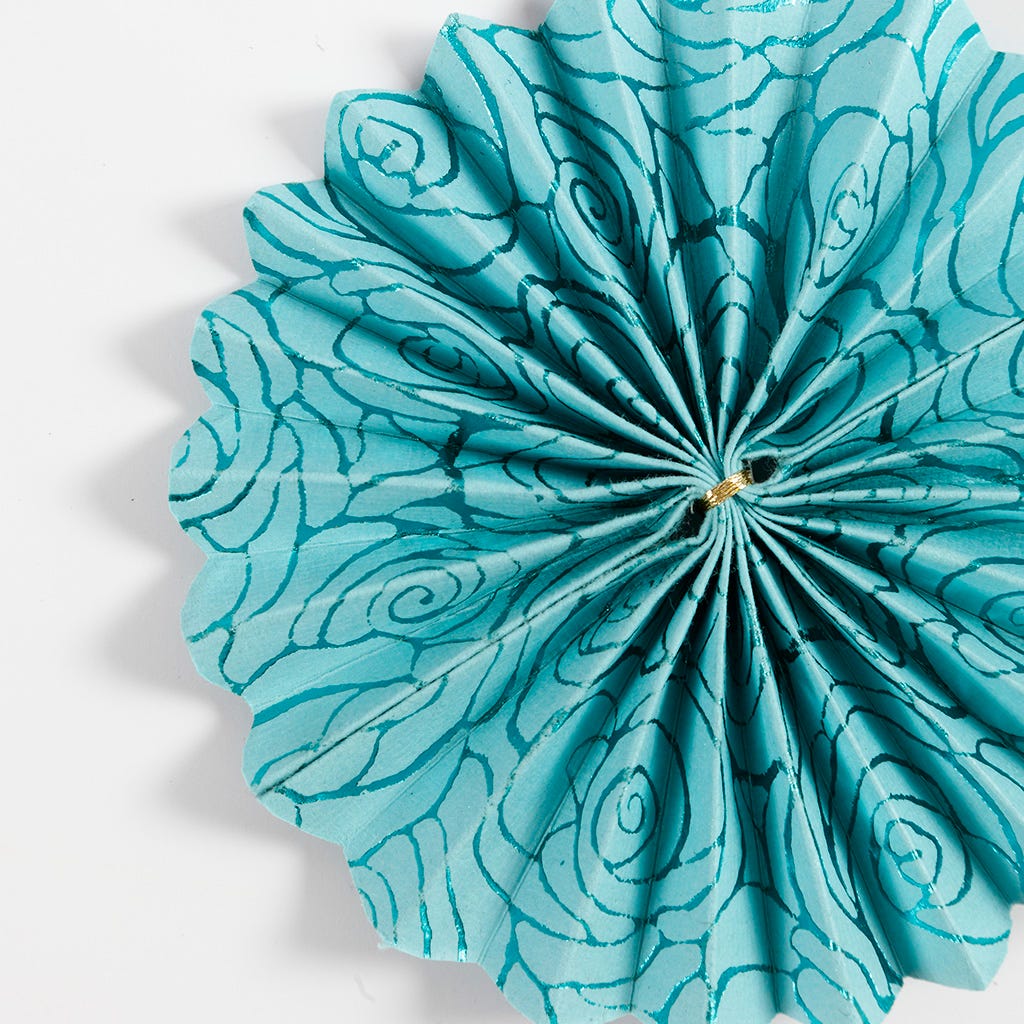
Another variant Here is the assembled rosette with points.

8 Make flowers or star rosettes by copying the template - which is available as a PDF file for this idea – onto paper and cutting it out. Follow the same procedure as described in step 2.
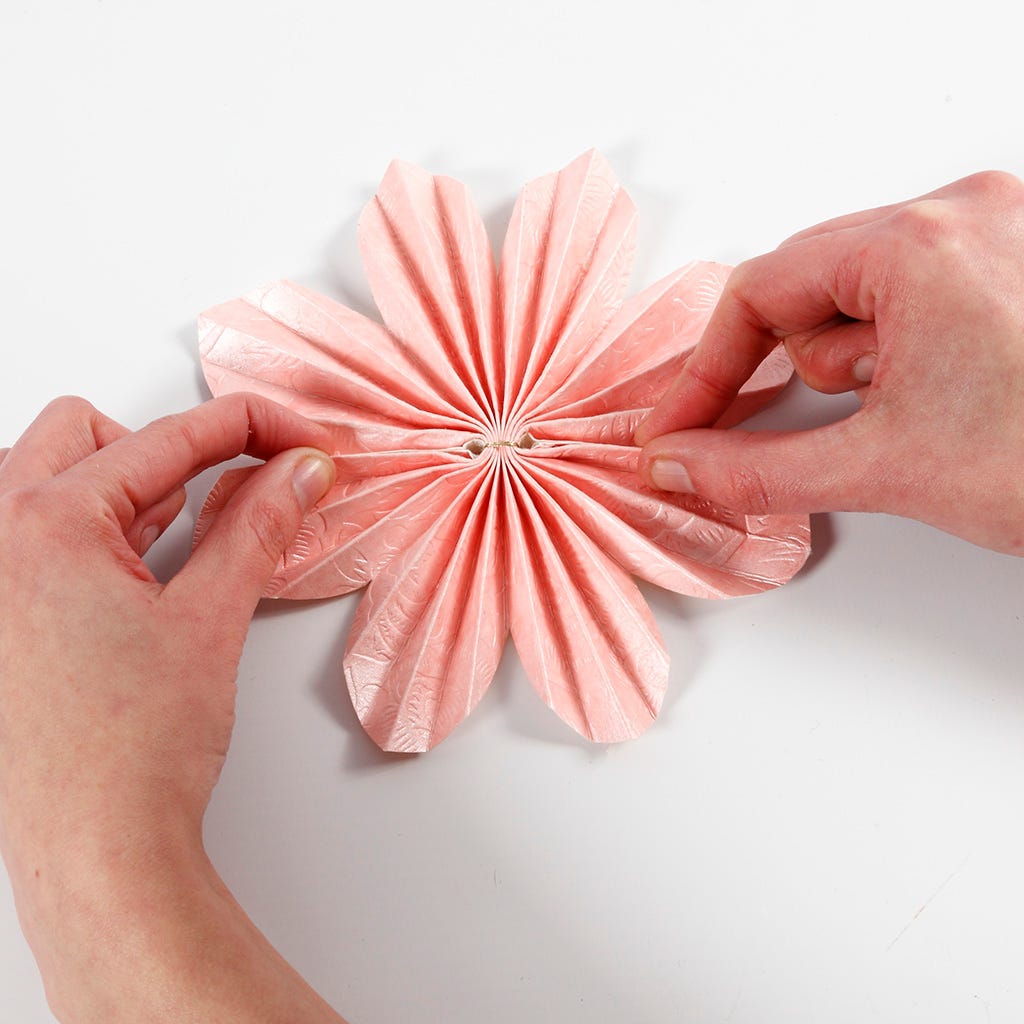
9 Tie the cord around the middle of the flower and attach the ends together with double-sided adhesive power tape.
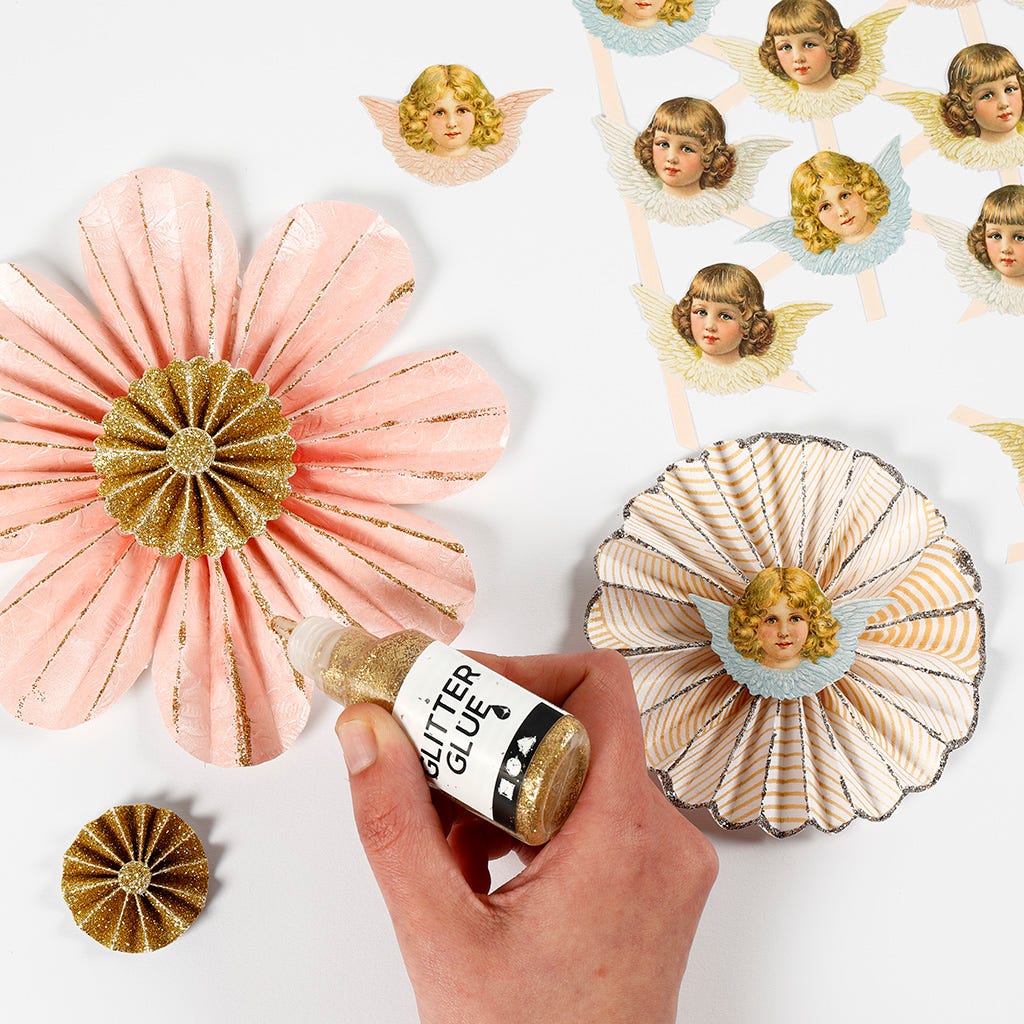
10 You may decorate the rosettes with lines of glitter glue along the folded edges or all the way along the outside edge. You may attach small self-adhesive rosettes onto the middle of the rosettes. Alternatively you may attach vintage die-cuts instead of the self-adhesive rosettes.
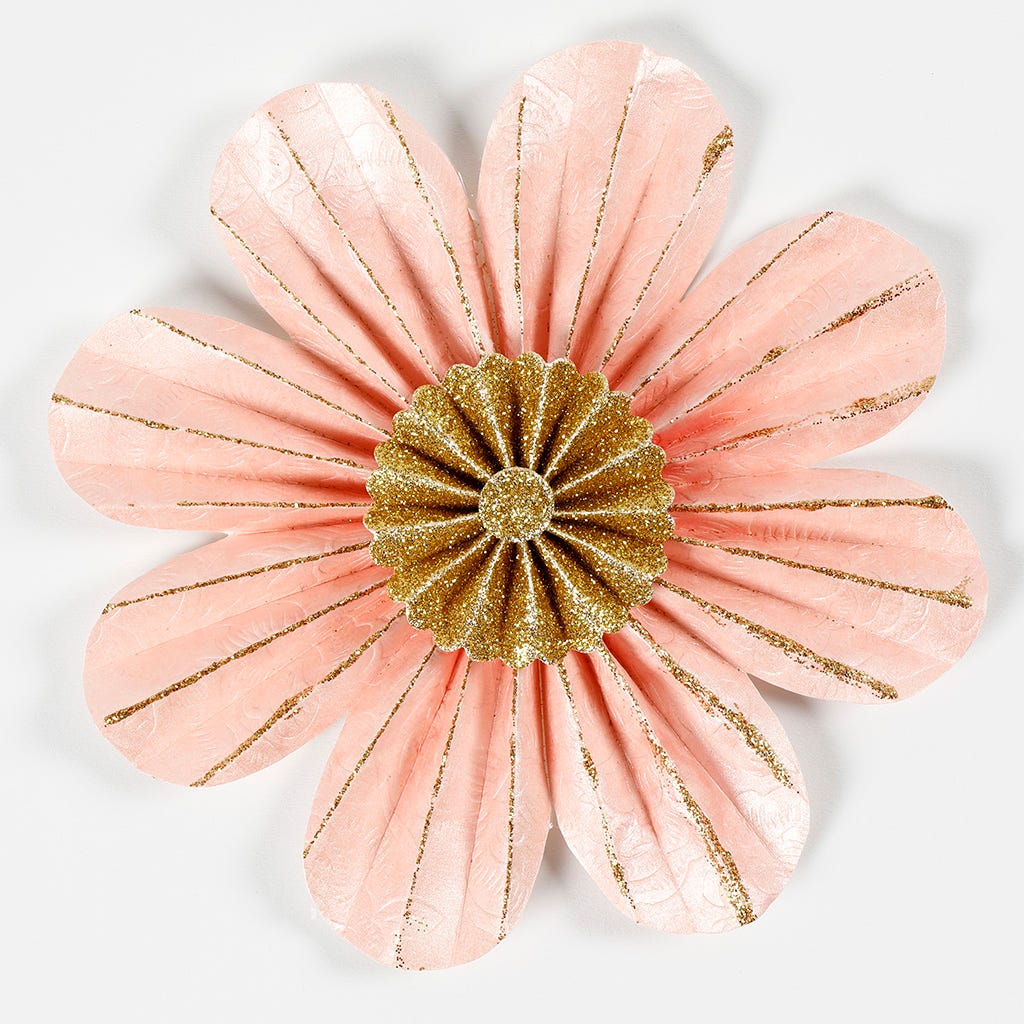
Another variant Here is the finished flower rosette.
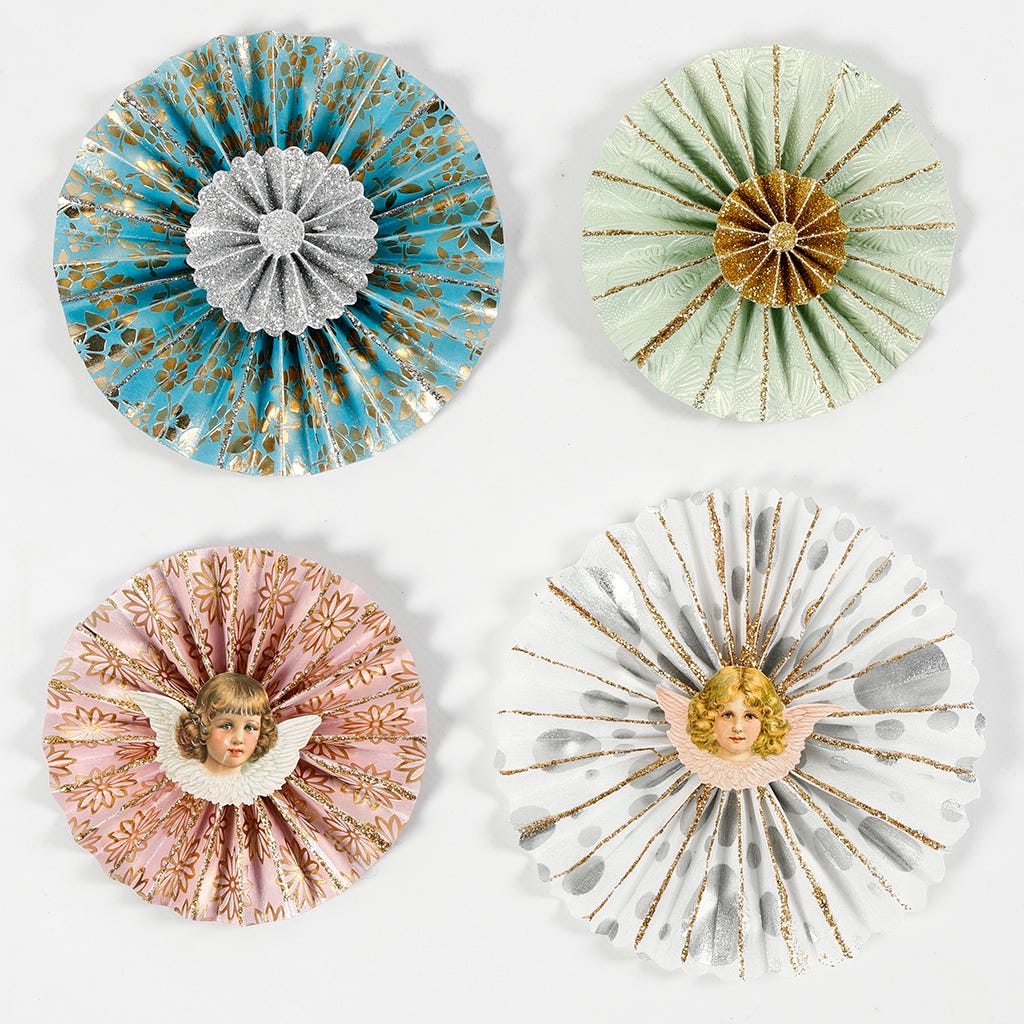
Other variants -

Allez aussi explorer dans