Une boîe à explosion pour une fête prénatale
#v15915
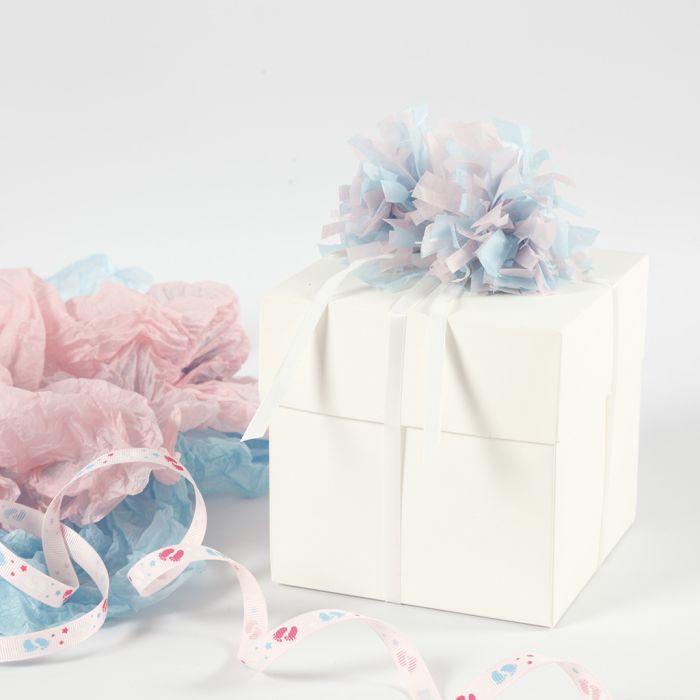
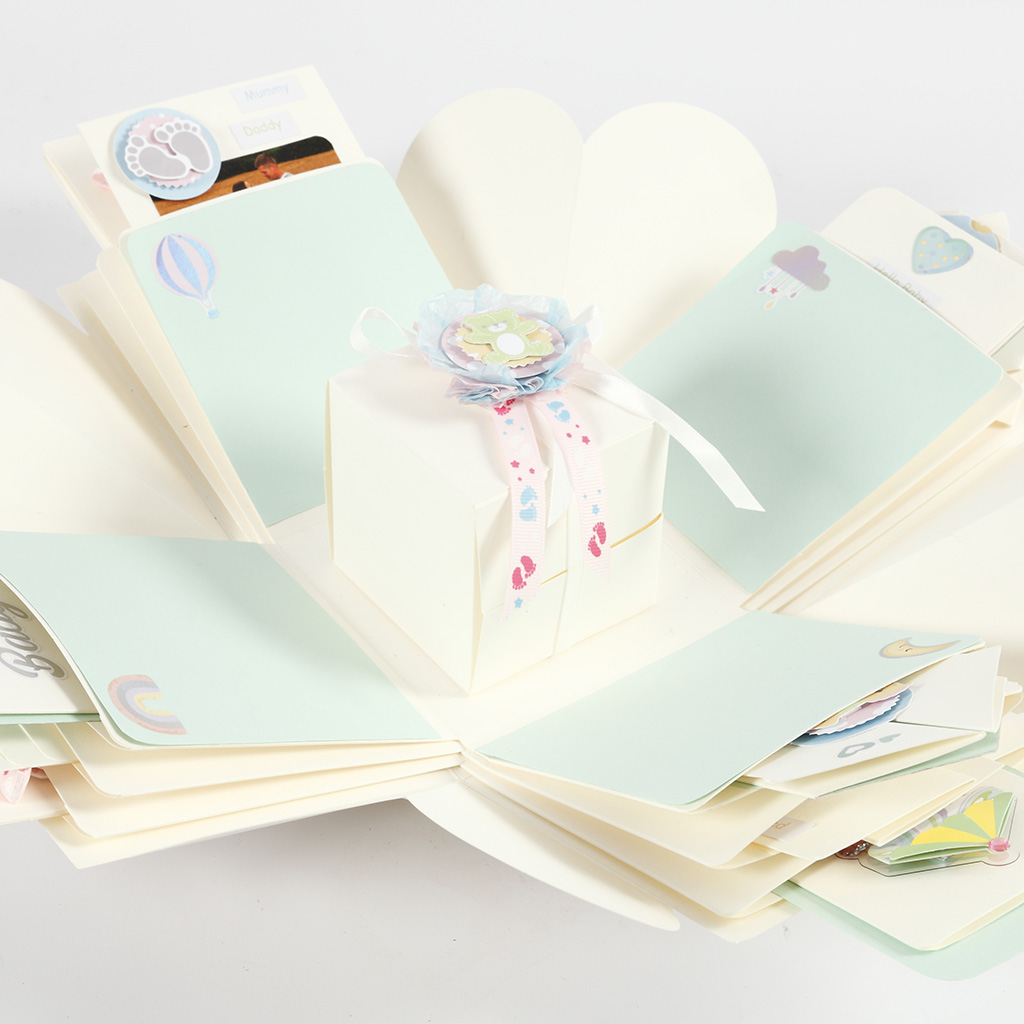
Décorez une boîte à explosion avec du papier cartonné, des photos, des messages personnels, du ruban et des autocollants en rapport avec le thème. Faites un pompon en papier de soie pour décorer le couvercle. Utilisez le coffret comme décoration de table ou comme cadeau pour une fête prénatale.
Comment faire Téléchargez nos instructions étape par étape

1 Décorez l'une des pièces décoratives, l'un des composants ou l'un des cadres fournis avec du papier cartonné. Imprimez ou découpez les gabarits disponibles en fichier PDF séparé sur cette page. Découpez le papier cartonné.
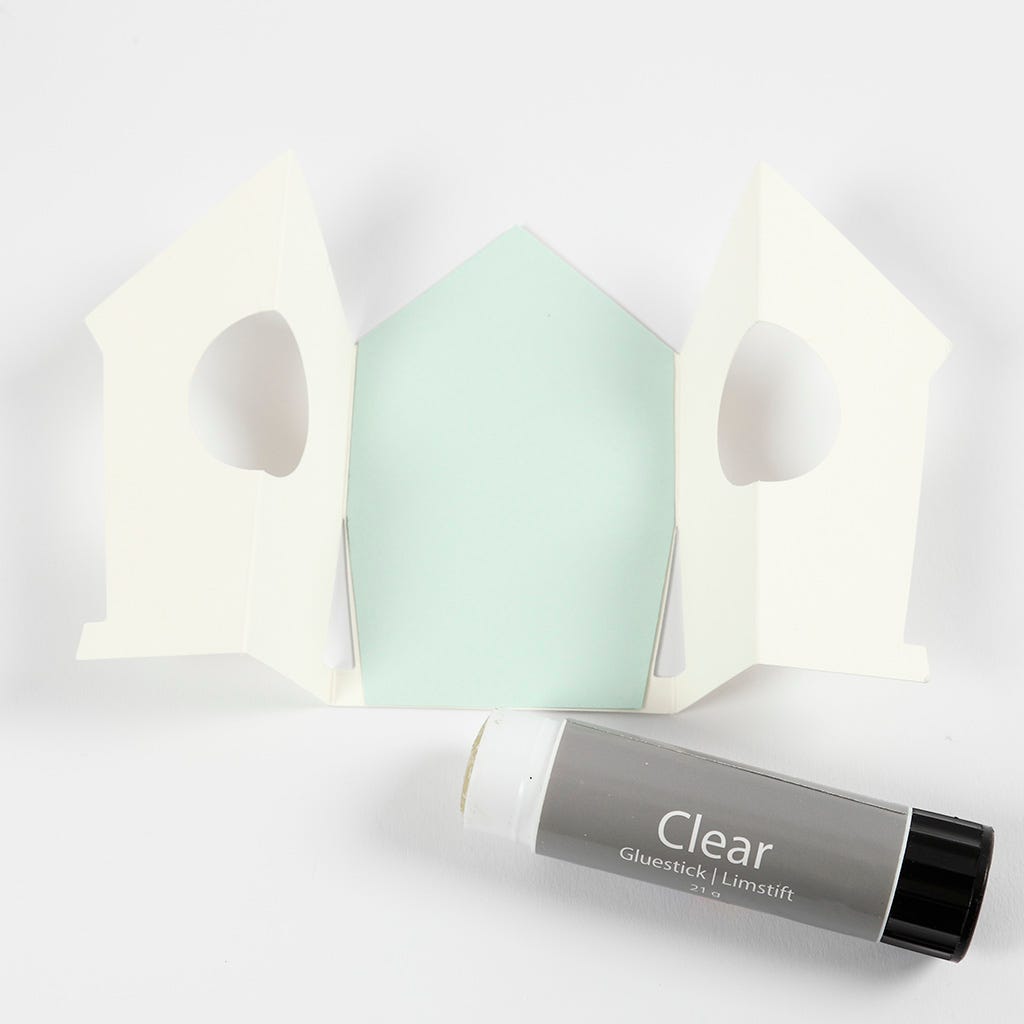
2 Attach the cut-out card onto the inlay using a glue stick.
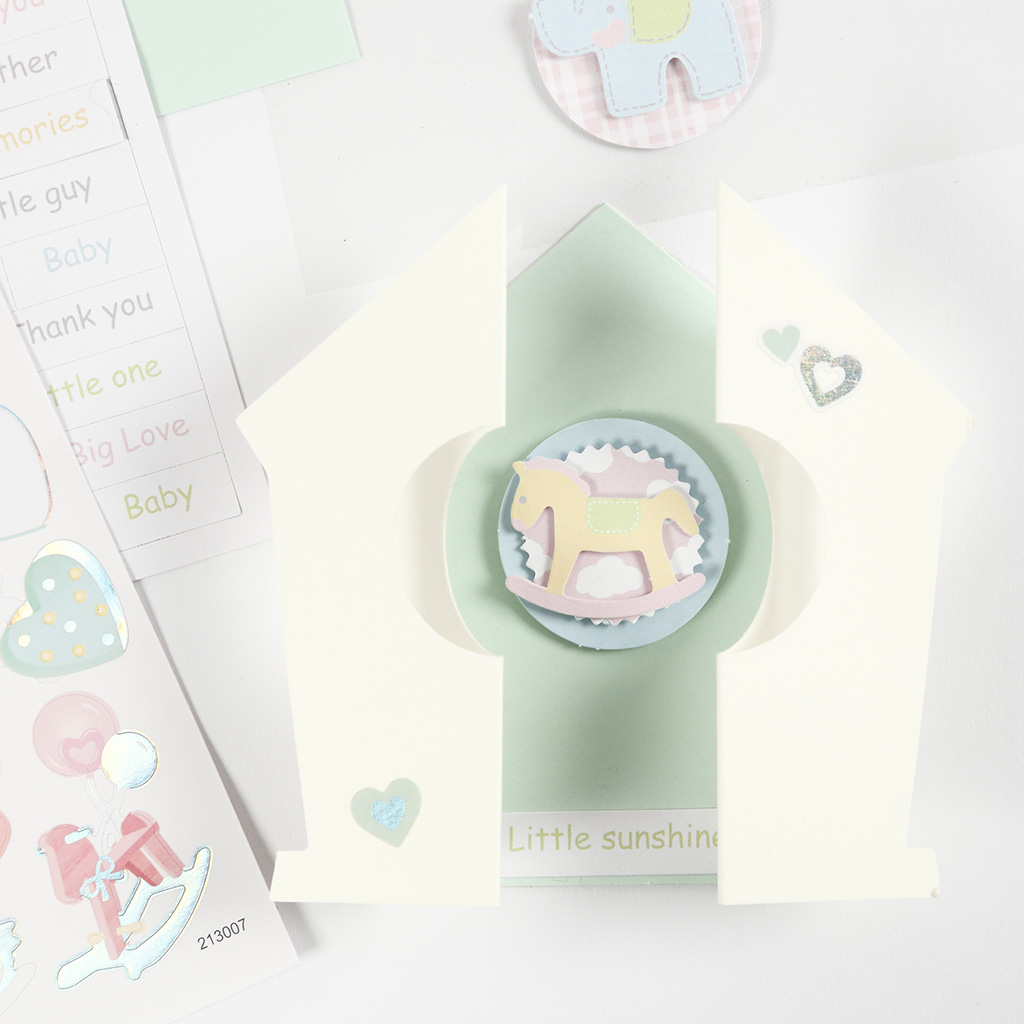
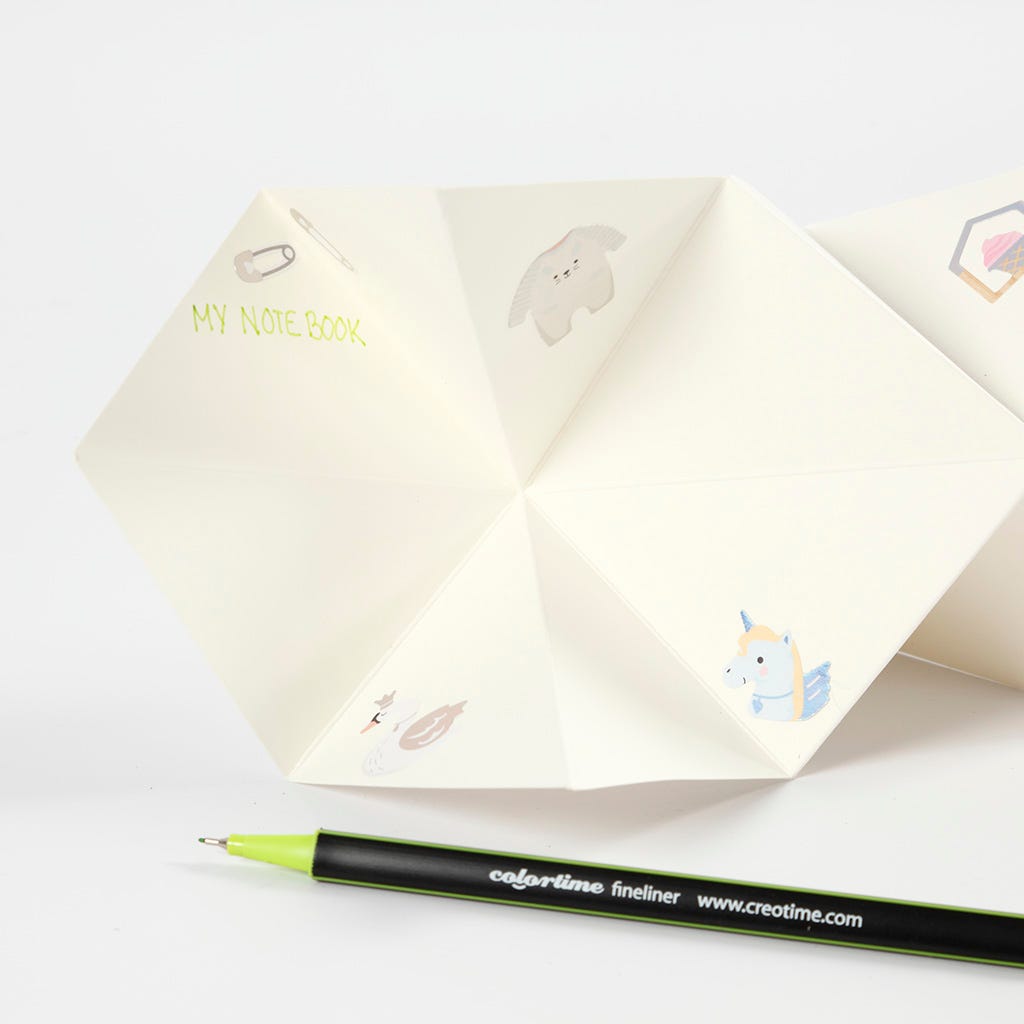
3 Decorate the inlay with your chosen stickers.
4 Decorate other decorative parts, components and inlays with decorative ribbon and stickers.
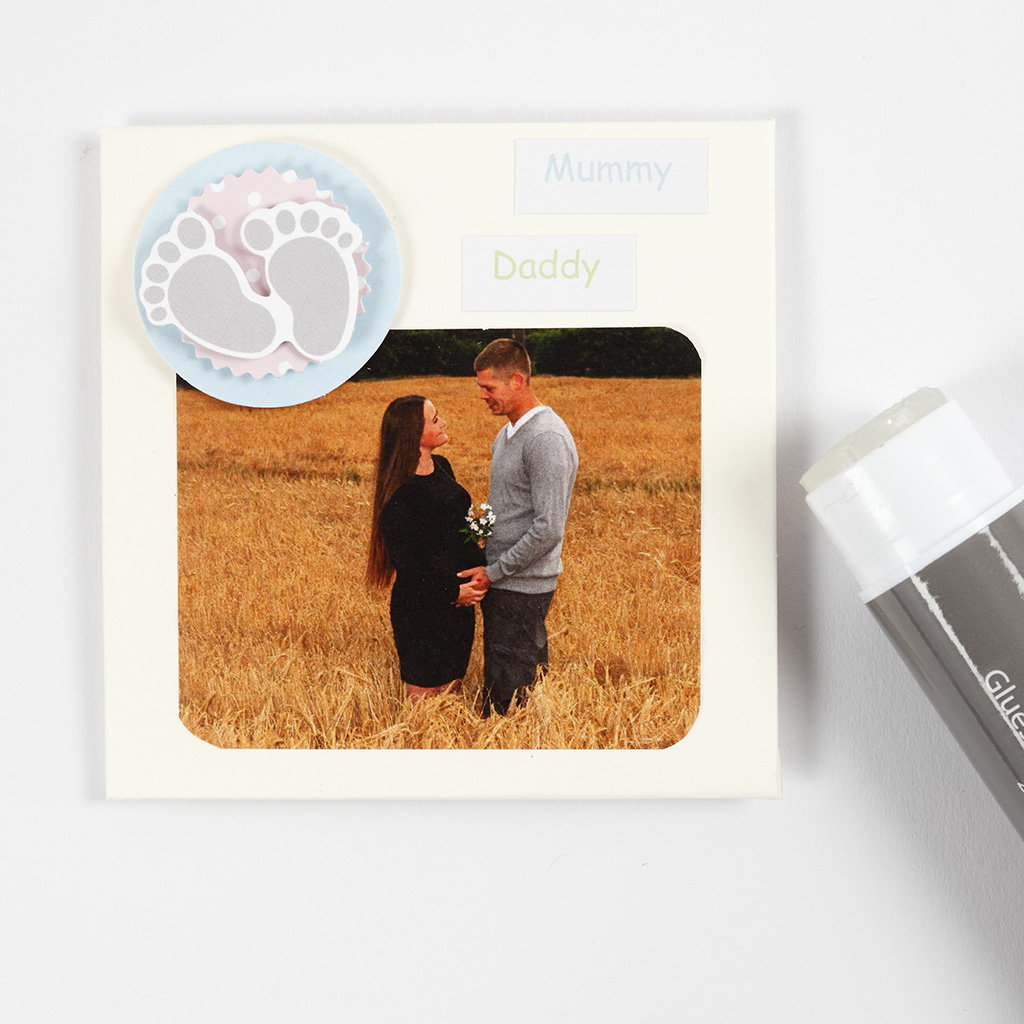
5 Print photos and attach them with a glue stick. Add stickers for further decoration.
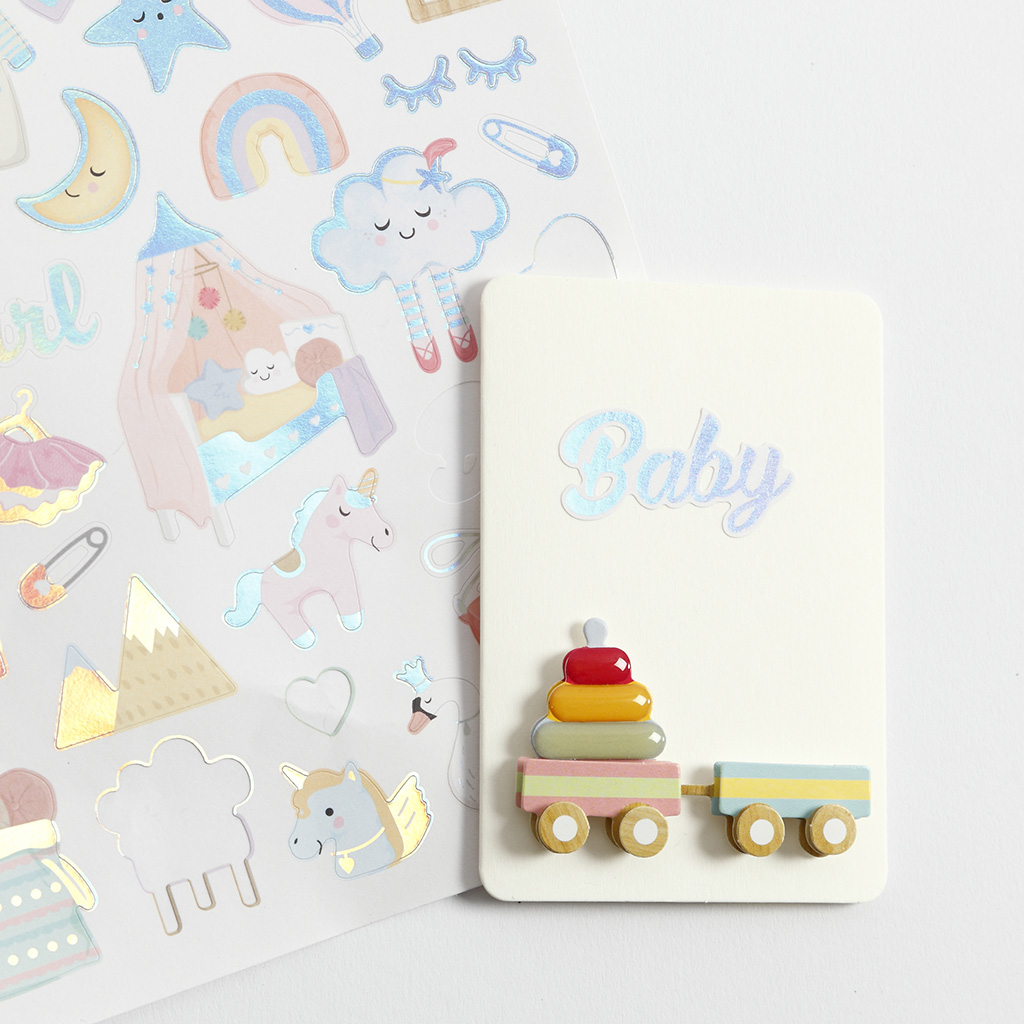
6 Decorate the various cards with ordinary stickers as well as 3D stickers.
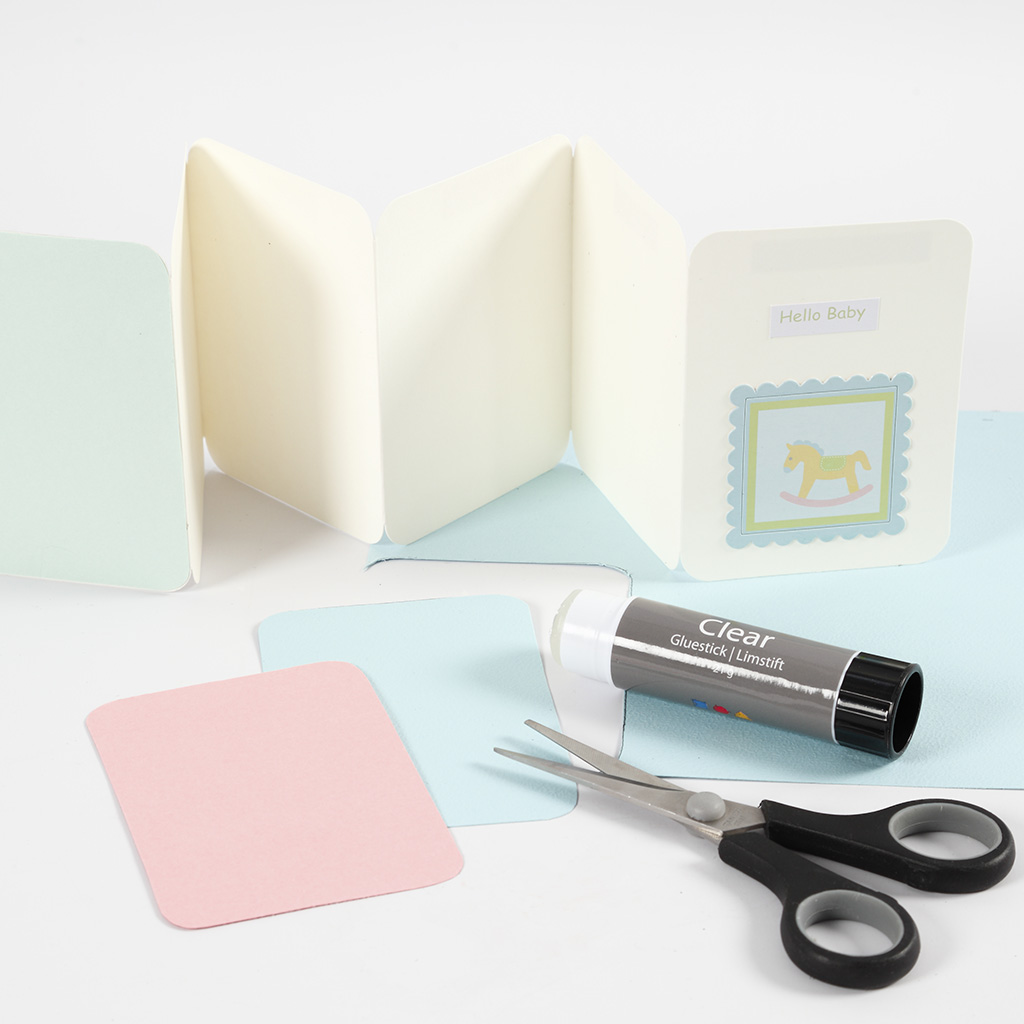
7 Cut out pieces of card for decorating the concertina folding booklet using the template.
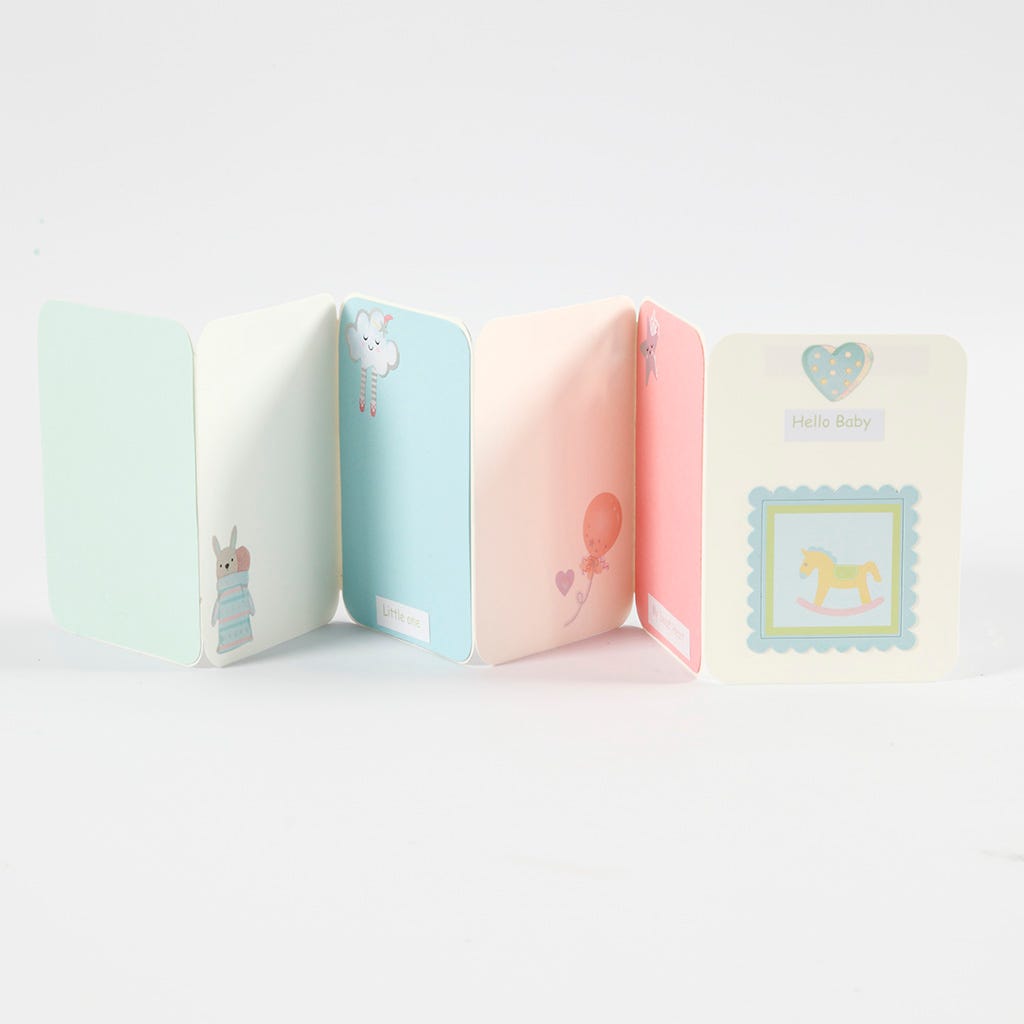
8 Attach the coloured pieces of card inside the concertina folding booklet and decorate further with stickers.
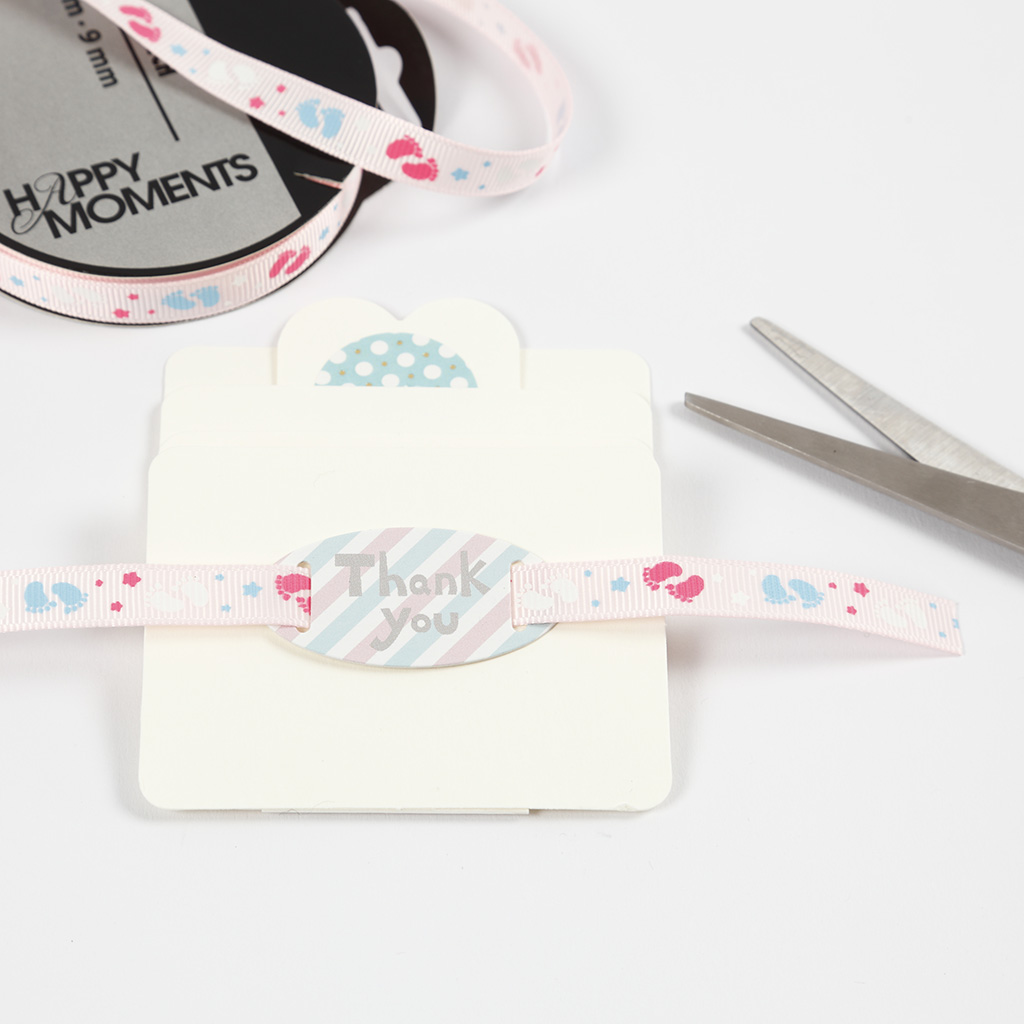
9 Decorate a small pop-up booklet with various stickers and small texts.
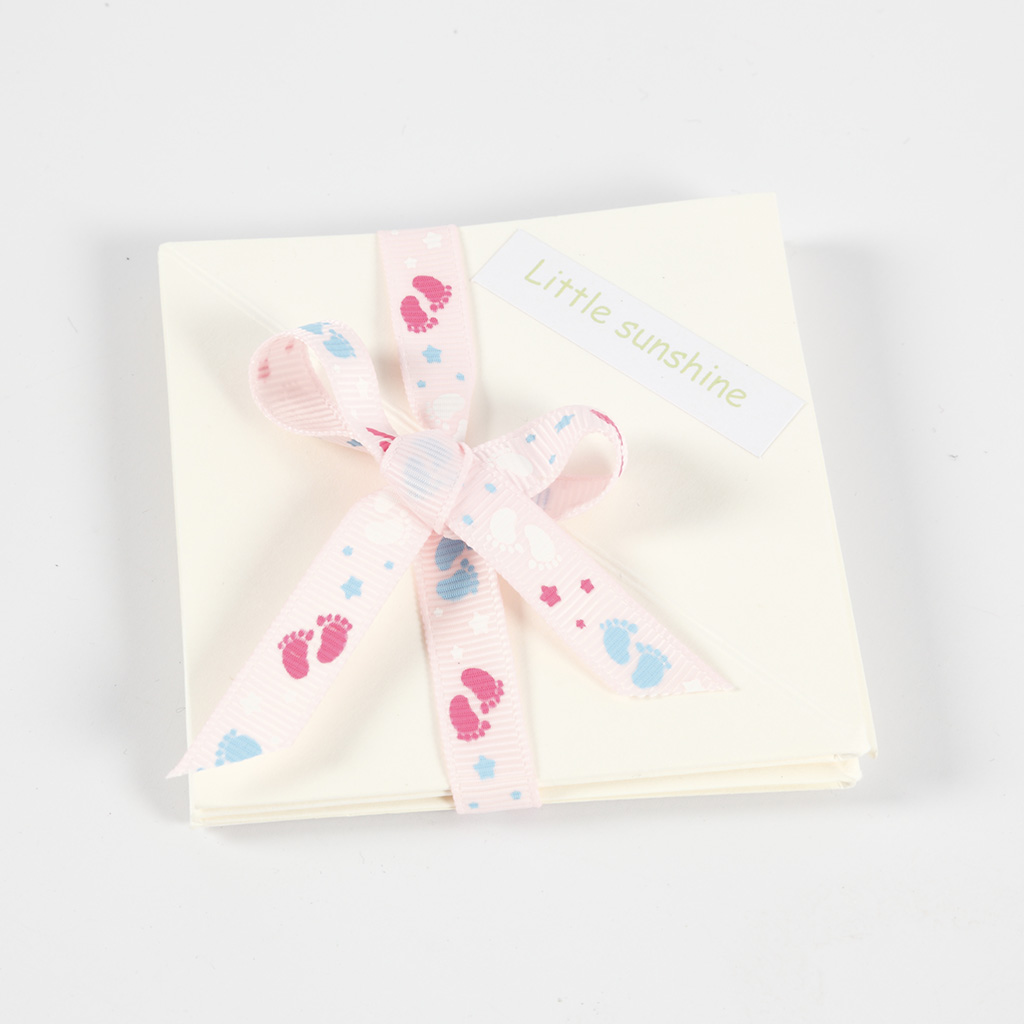
10 Close the pop-up booklet with ribbon and decorate further with a sticker.
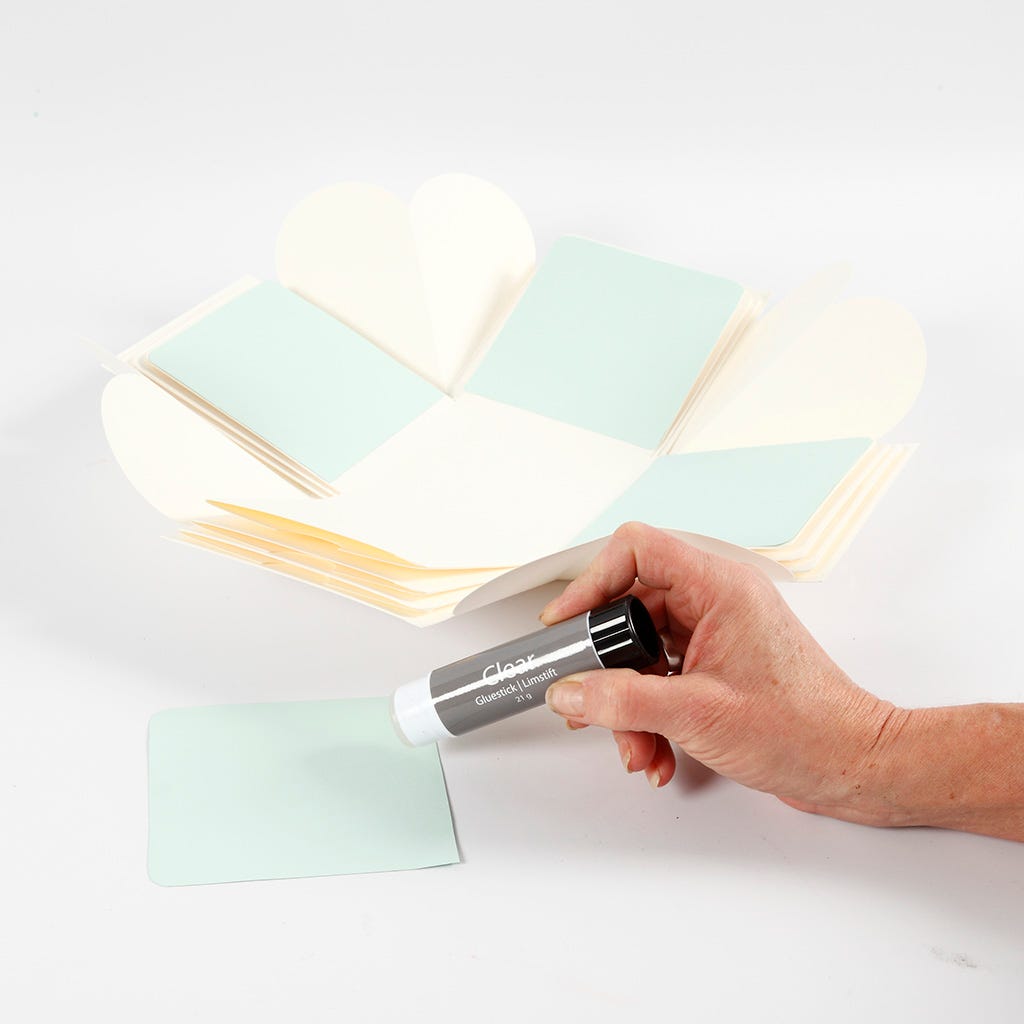
11 Cut out pieces of card using the template and attach these onto the insides of the explosion box using a glue stick.
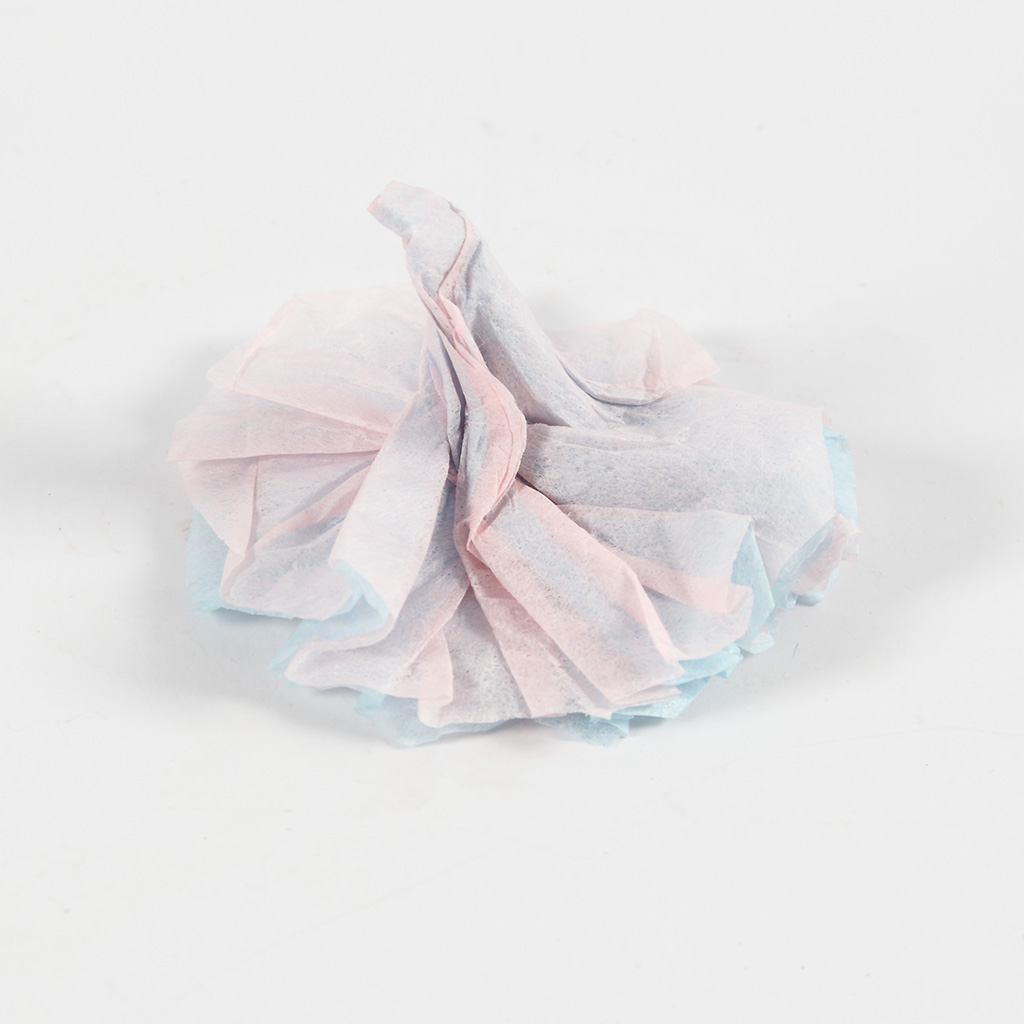
12 Make a small rosette from tissue paper by cutting 4 circular pieces of tissue paper. Gather the tissue paper in the middle and twist.
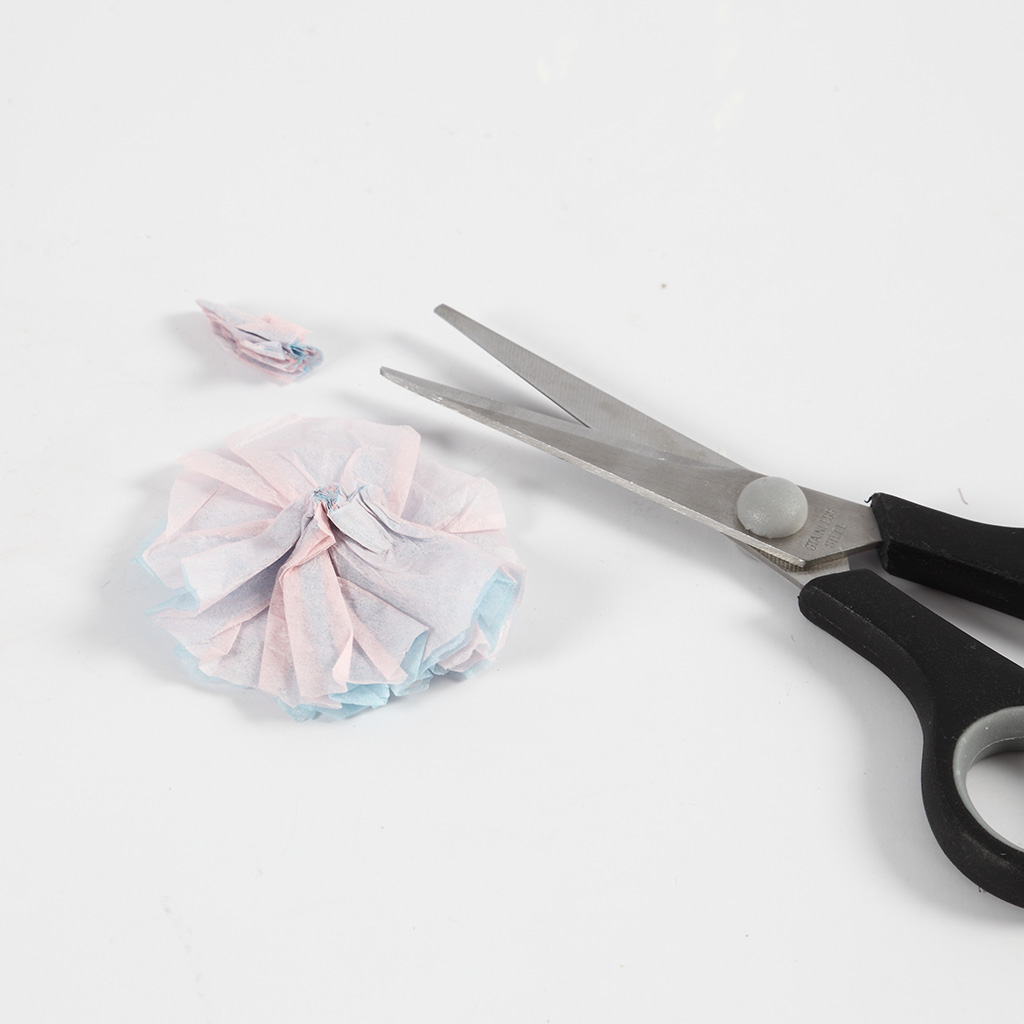
13 Cut off the end of the twisted section.

14 Cut a small piece of decorative ribbon and attach it onto the back of the tissue paper rosette using a glue stick.
15 Decorate the centre of the rosette with 3D stickers. Attach the finished rosette onto the lid of the small box in the middle of the explosion box.
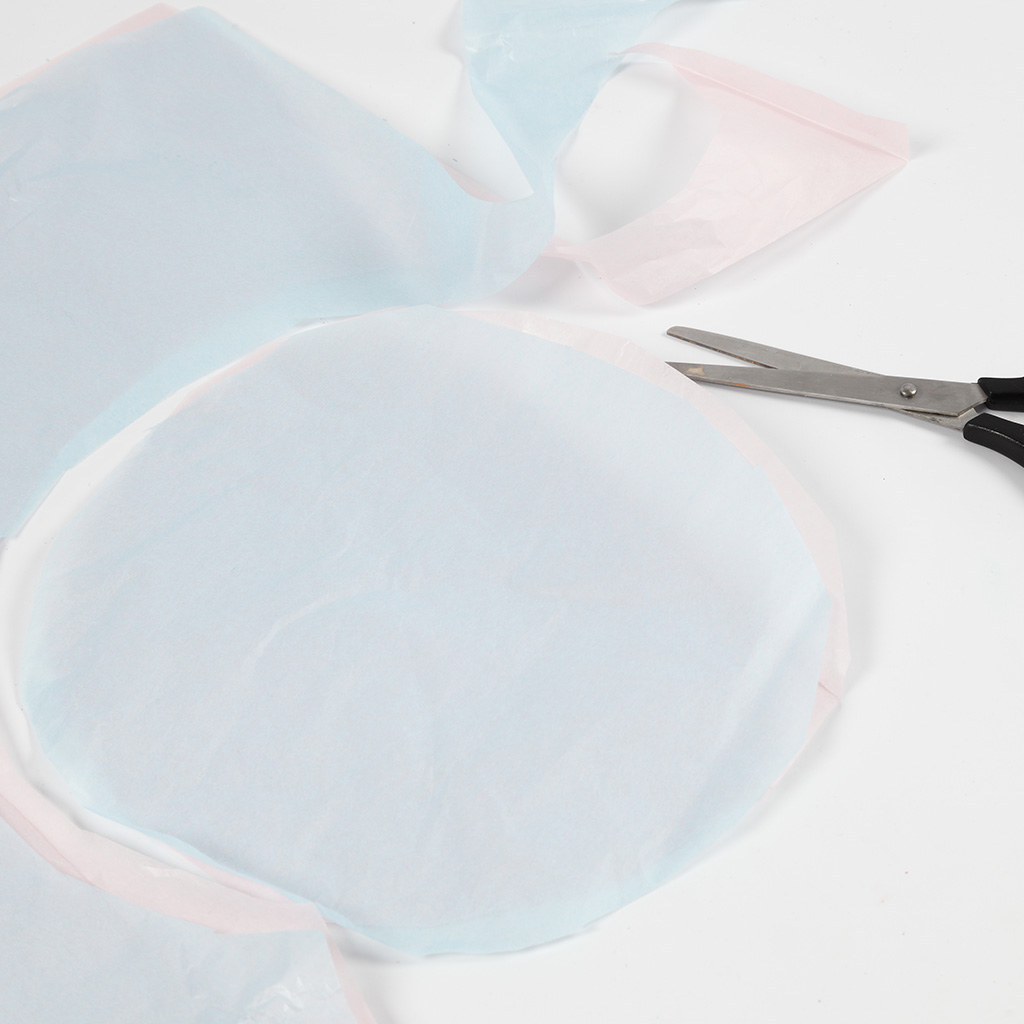
16 Make two tassels from tissue paper for the lid of the large box. Cut 2 x 2 circular pieces of tissue paper in different colours with a diameter of approx. 20 cm.
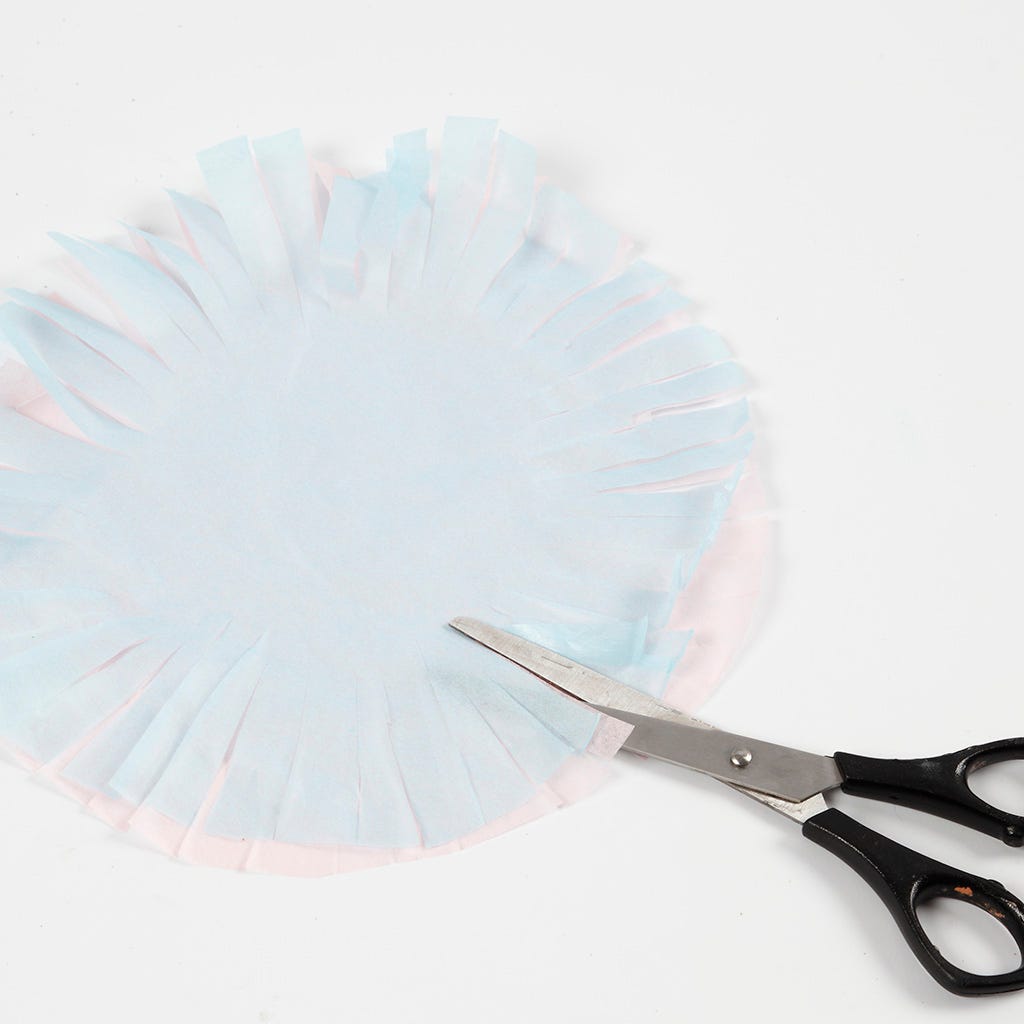
17 Cut notches along the edge.
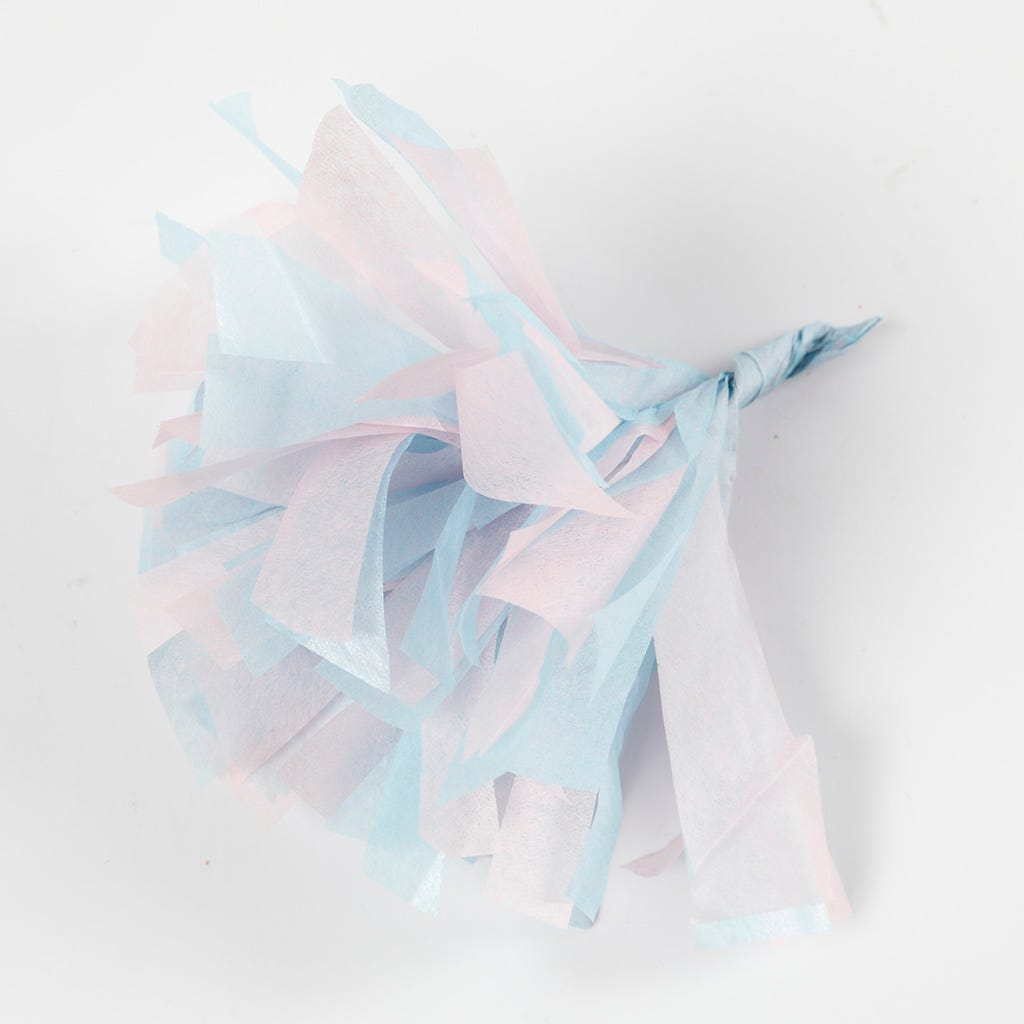
18 Gather and twist the circular pieces of tissue paper in the middle. NB: do not cut off the end.
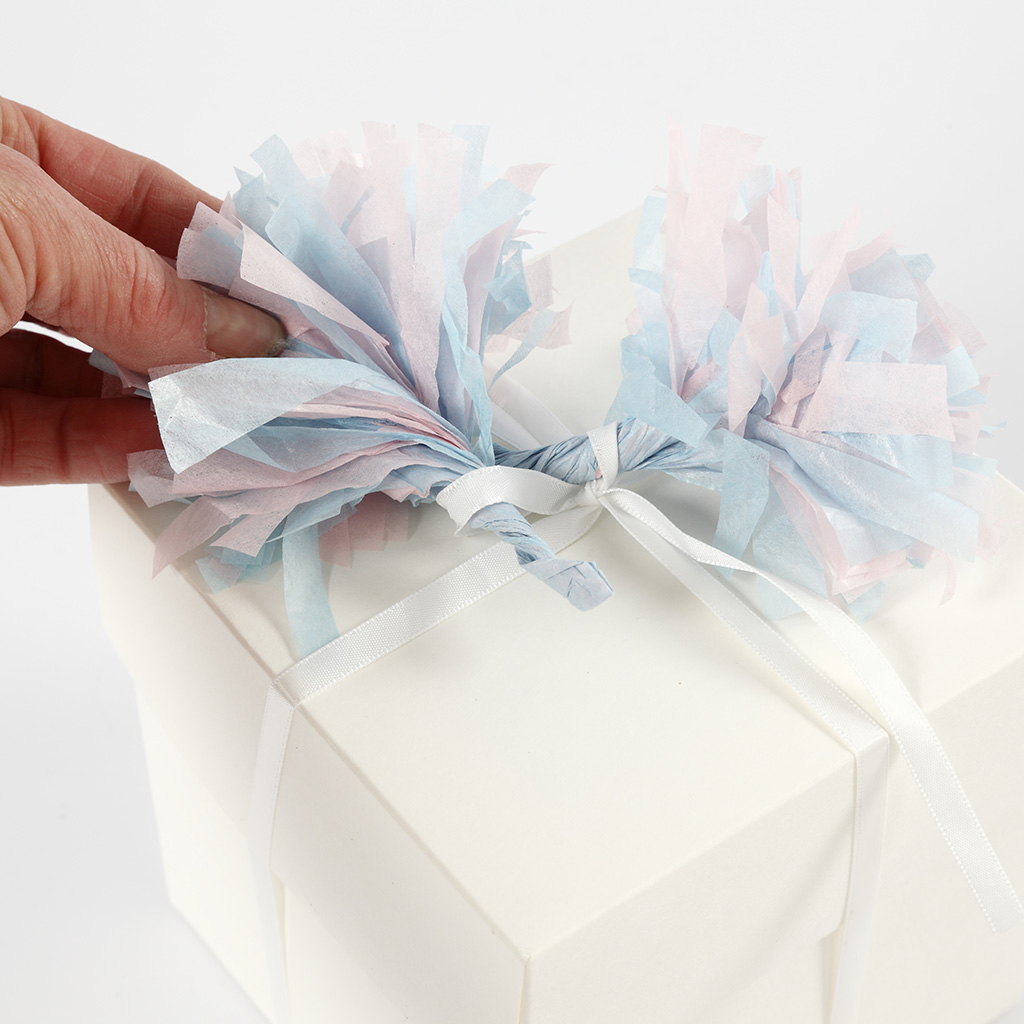
19 Assemble the finished explosion box and tie the supplied ribbon around the box with a bow on the lid. Push the points of the two tassels inside the loops on the bow and tighten the bow.

Allez aussi explorer dans