
Nouveauté
D'idées créatives
Gâteaux faits à partir de boîtes
#v16178
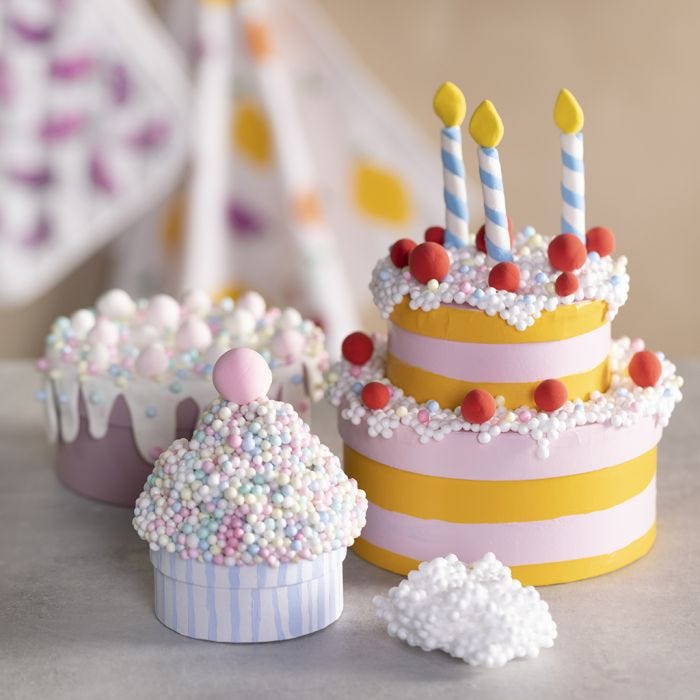
Créez vos propres gâteaux décoratifs à partir de boîtes rondes en papier mâché. Peignez-les avec de la peinture acrylique et décorez-les ensuite avec du glaçage, des bougies et des baies en Foam Clay et Silk Clay. Réalisez de nombreux gâteaux différents, par exemple des gâteaux à étages ou des cupcakes, parfaits pour la cuisine de jeu des enfants.
#v16178
Comment faire
1 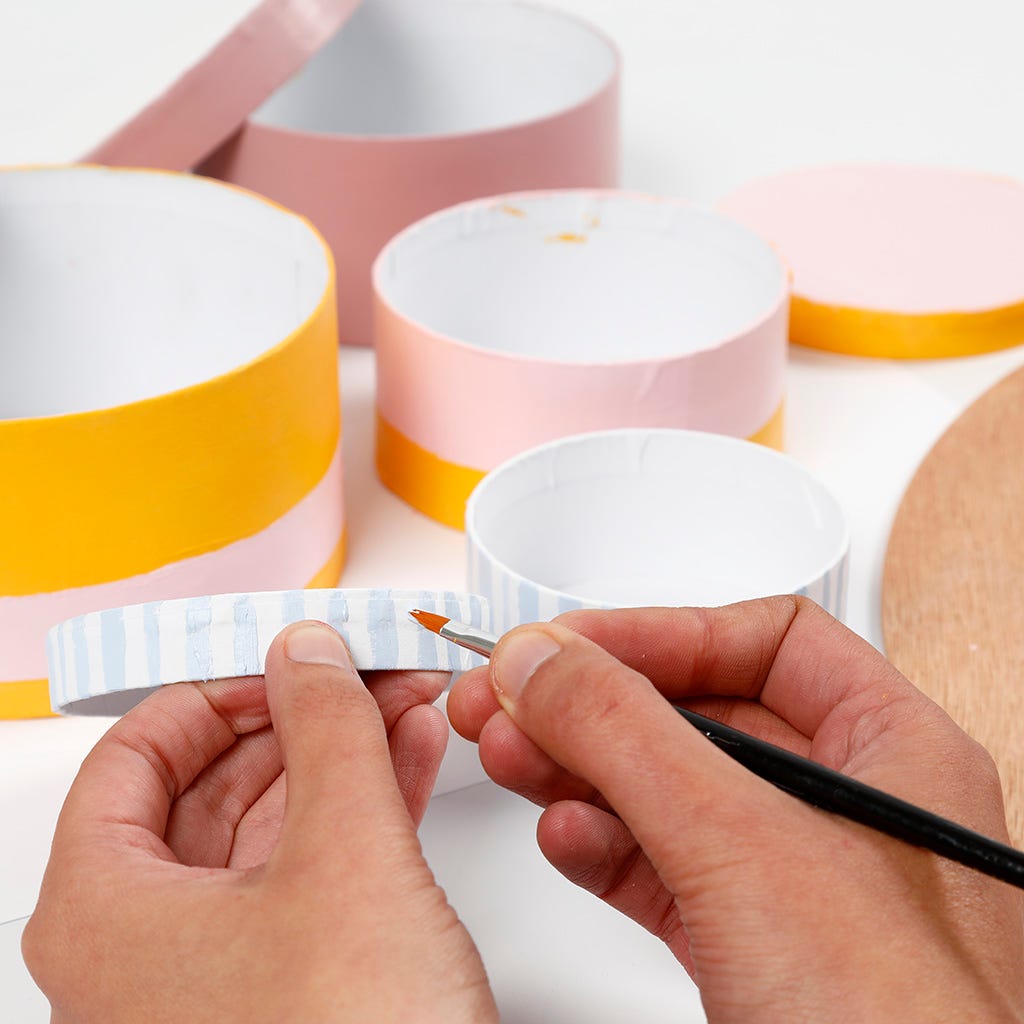 Peignez les boîtes avec de la peinture artisanale. Vous pouvez peindre des rayures horizontales ou verticales.
Peignez les boîtes avec de la peinture artisanale. Vous pouvez peindre des rayures horizontales ou verticales.2 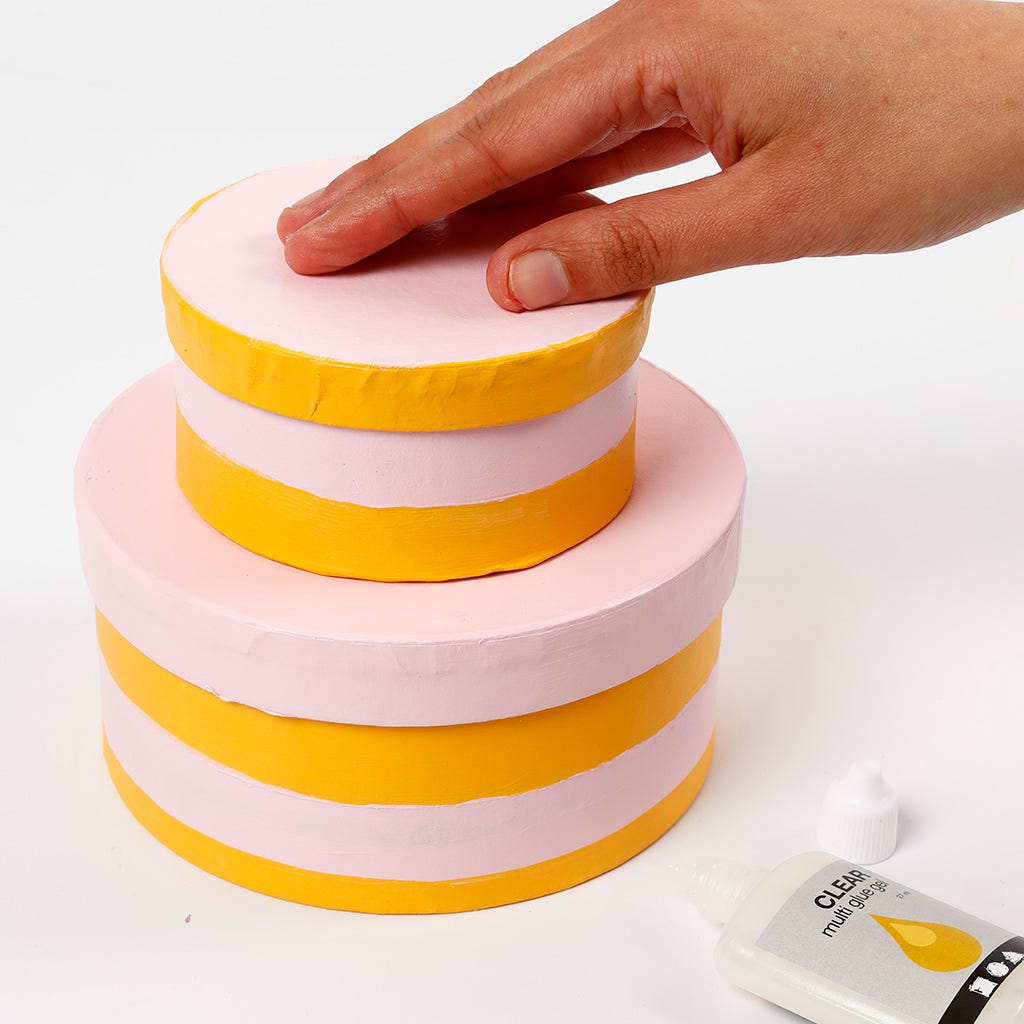 Réalisez un gâteau à étages en fixant une petite boîte sur une grande boîte.
Réalisez un gâteau à étages en fixant une petite boîte sur une grande boîte.3 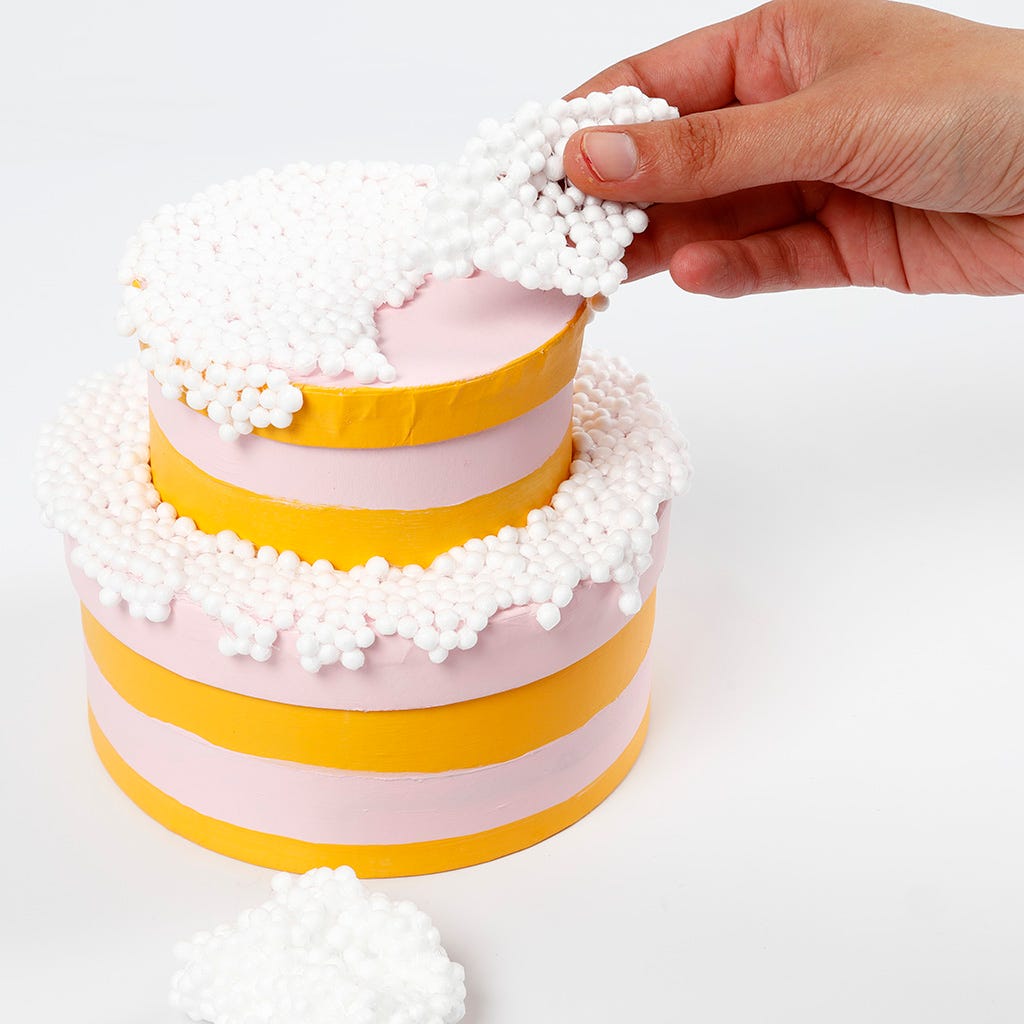 Appliquez de la Foam Clay XL sur le dessus des couvercles des boîtes de manière à ce qu’elle ressemble à du glaçage. Fixez-la sur la surface tant qu’elle est humide, puis elle sèche à l’air en quelques heures.
Appliquez de la Foam Clay XL sur le dessus des couvercles des boîtes de manière à ce qu’elle ressemble à du glaçage. Fixez-la sur la surface tant qu’elle est humide, puis elle sèche à l’air en quelques heures.4 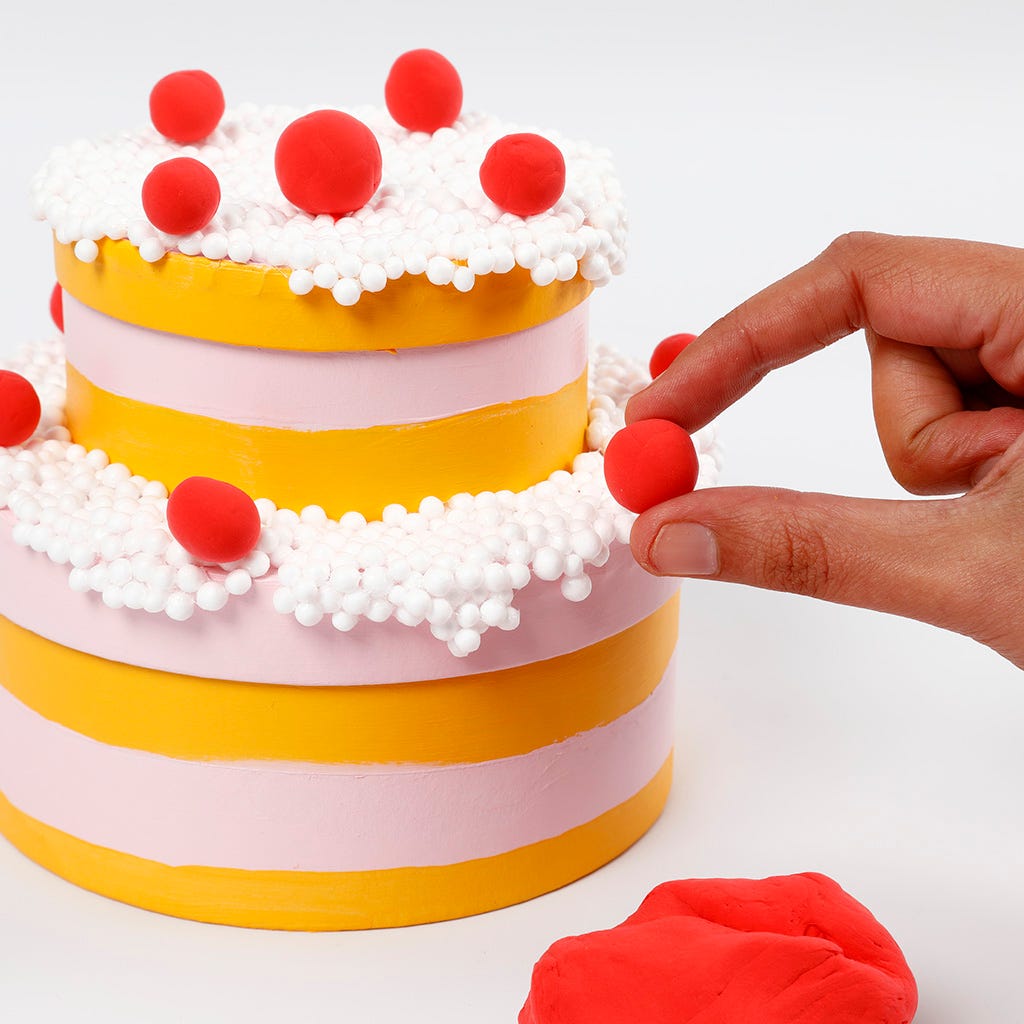 Roulez des petites baies avec de la Silk Clay et fixez-les sur le gâteau tant que la pâte est encore humide. La Silk Clay sèche à l’air en quelques heures.
Roulez des petites baies avec de la Silk Clay et fixez-les sur le gâteau tant que la pâte est encore humide. La Silk Clay sèche à l’air en quelques heures.5 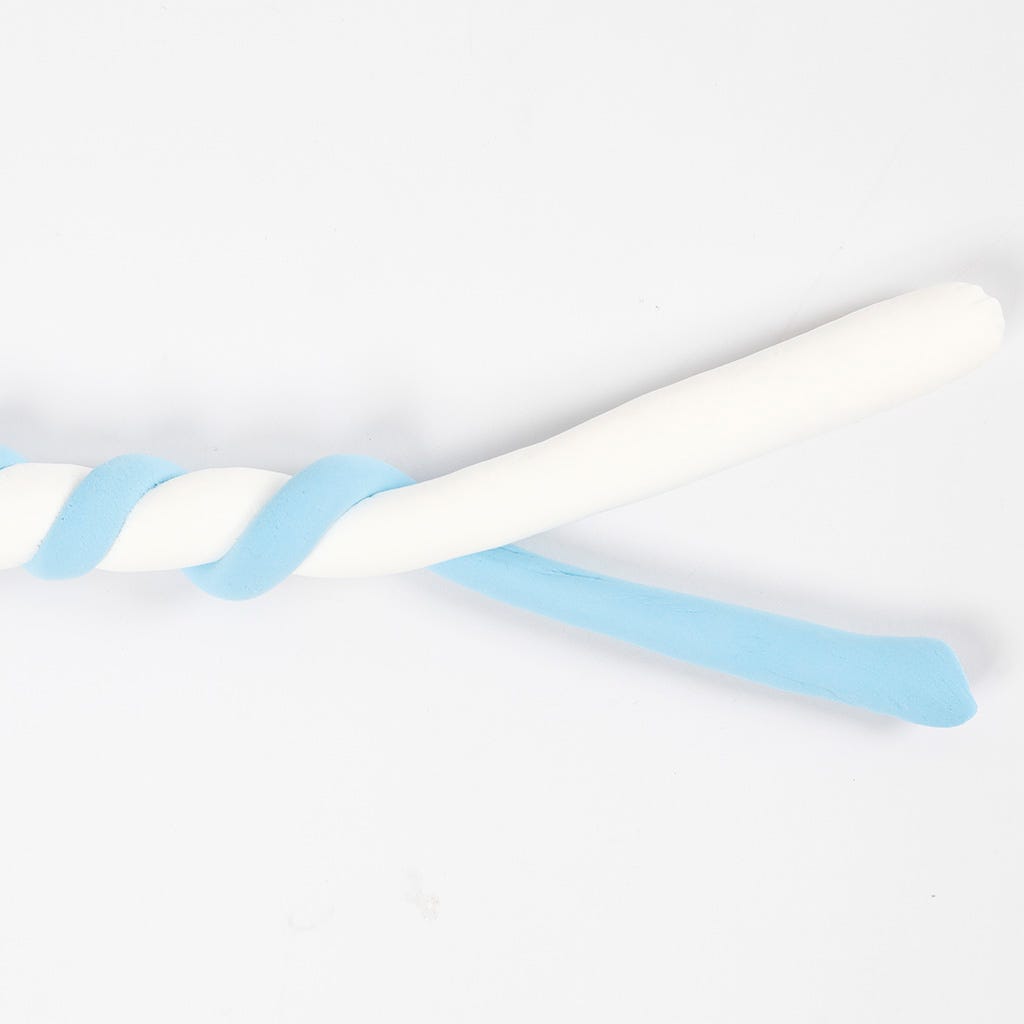 Faites des bougies pour le gâteau en torsadant deux boudins de Silk Clay ensemble, comme montré sur cette photo.
Faites des bougies pour le gâteau en torsadant deux boudins de Silk Clay ensemble, comme montré sur cette photo.6 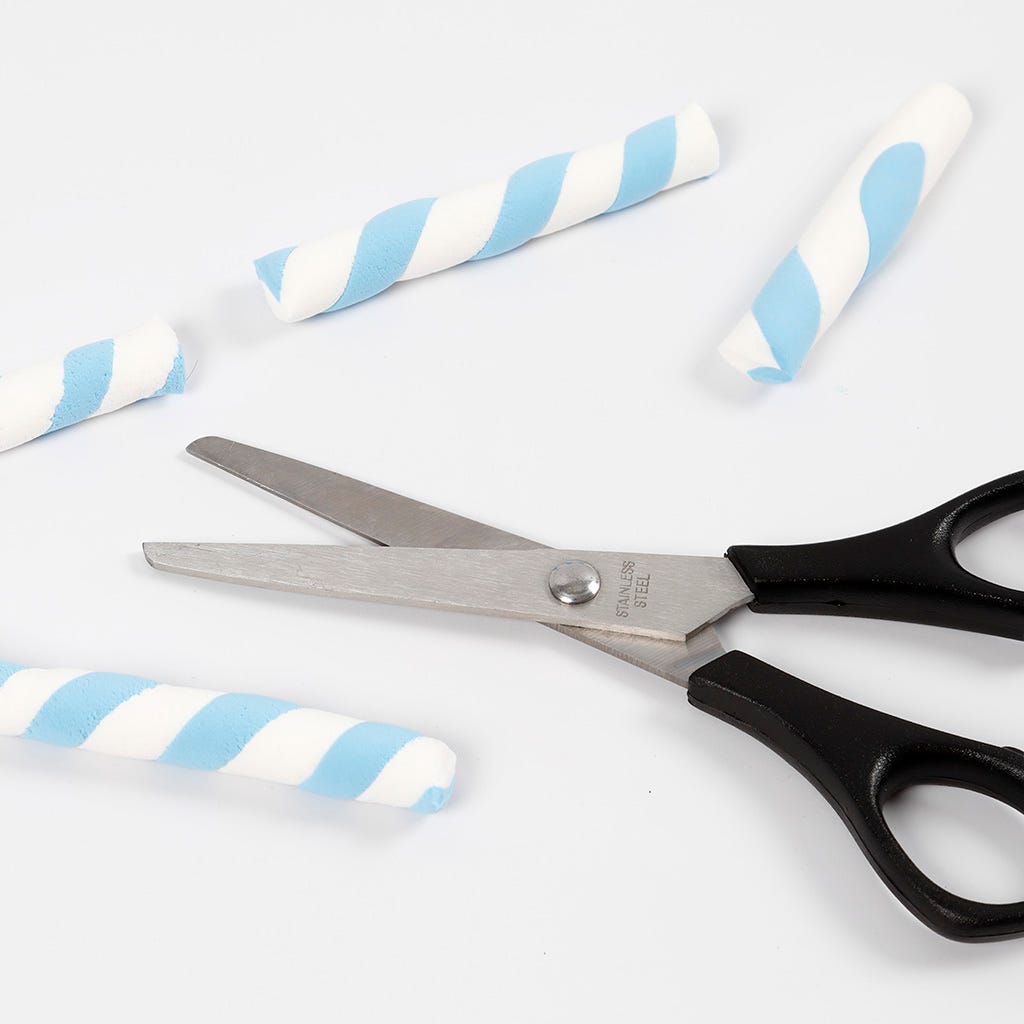 Coupez le boudin de Silk Clay torsadé avec des ciseaux à la longueur souhaitée pour les bougies.
Coupez le boudin de Silk Clay torsadé avec des ciseaux à la longueur souhaitée pour les bougies.7 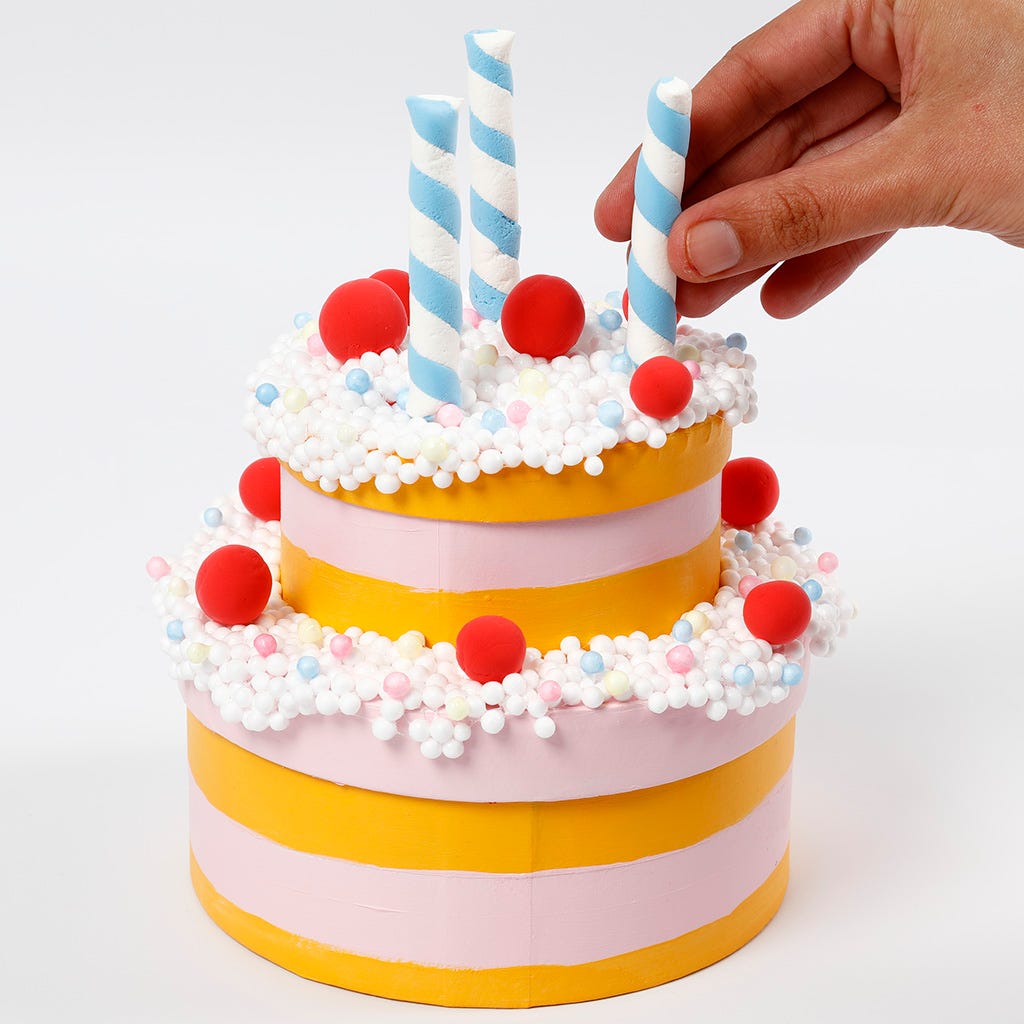 Piquez les bougies sur le dessus du gâteau avant qu'elles ne sèchent
Piquez les bougies sur le dessus du gâteau avant qu'elles ne sèchent8 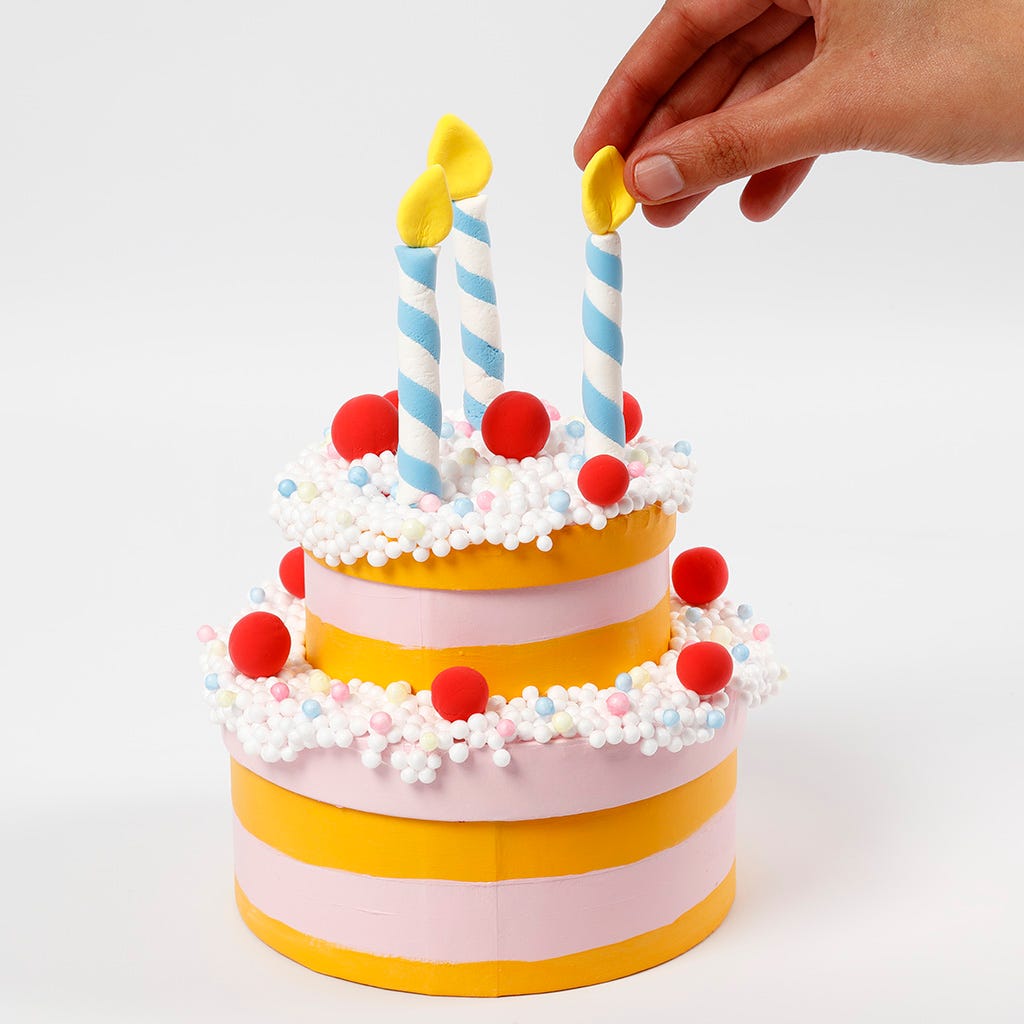 Utilisez de la pâte à modeler Silk Clay jaune pour la flamme des bougies, en l’attachant au sommet de chaque bougie.
Utilisez de la pâte à modeler Silk Clay jaune pour la flamme des bougies, en l’attachant au sommet de chaque bougie.9 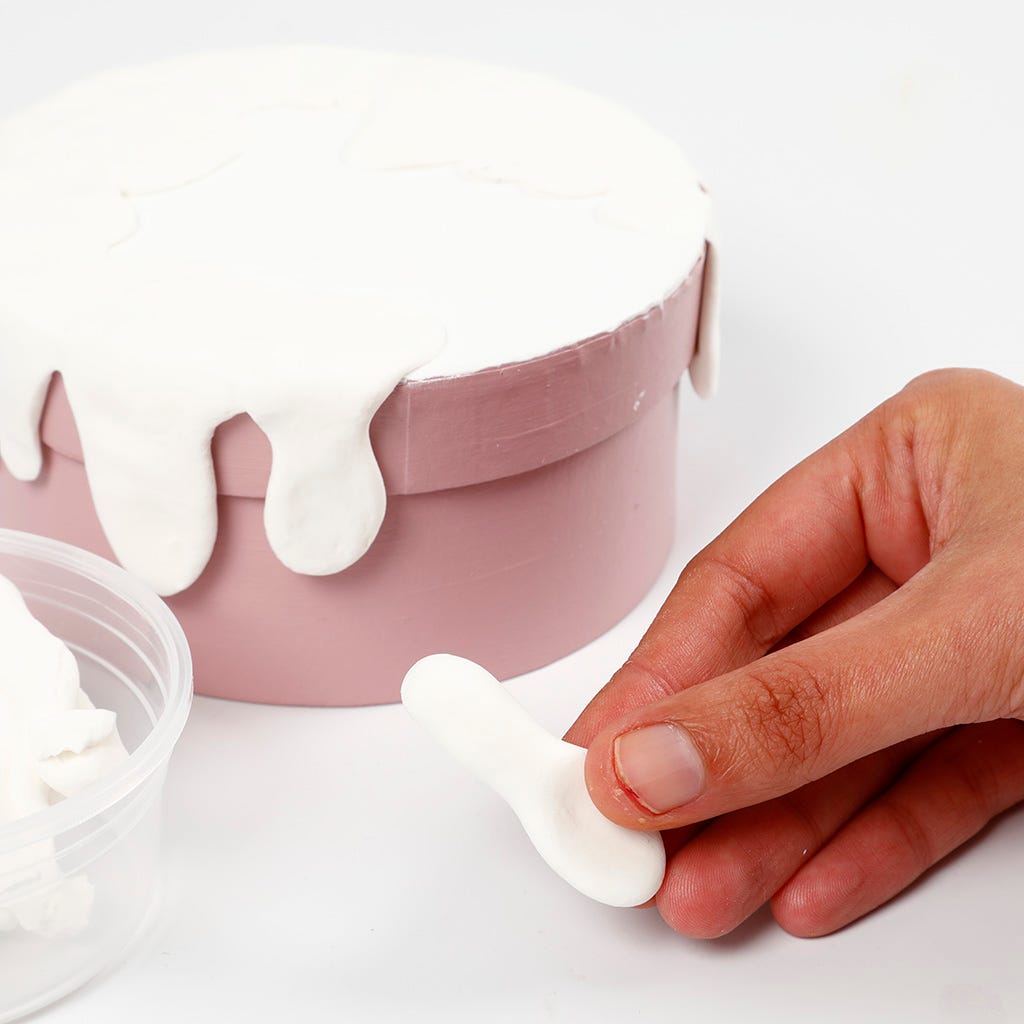 Réalisez un gâteau éponge simple et décorez-le avec du glaçage en Silk Clay. Prenez des morceaux de Silk Clay et modelez-les comme montré sur la photo.
Réalisez un gâteau éponge simple et décorez-le avec du glaçage en Silk Clay. Prenez des morceaux de Silk Clay et modelez-les comme montré sur la photo.10 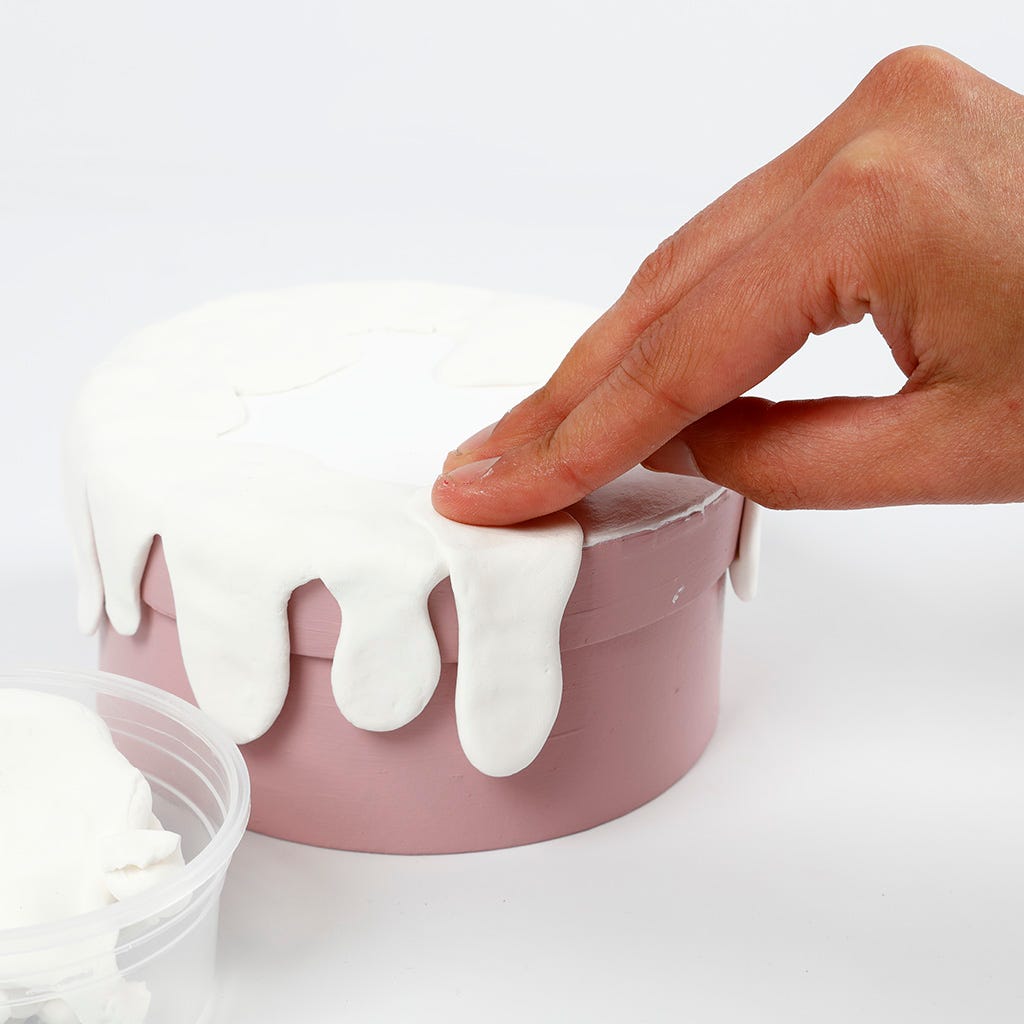 Appliquez le Silk Clay sur les côtés et le dessus du gâteau de manière à ce qu’il ressemble à du glaçage.
Appliquez le Silk Clay sur les côtés et le dessus du gâteau de manière à ce qu’il ressemble à du glaçage.11  Mélangez le Silk Clay pour obtenir les couleurs de votre choix. Obtenez un rose pâle comme montré sur la photo en mélangeant du Silk Clay blanc avec du Silk Clay rose. Pétrissez les deux couleurs ensemble jusqu’à obtenir une teinte uniforme. N’hésitez pas à expérimenter en mélangeant d’autres couleurs et nuances.
Mélangez le Silk Clay pour obtenir les couleurs de votre choix. Obtenez un rose pâle comme montré sur la photo en mélangeant du Silk Clay blanc avec du Silk Clay rose. Pétrissez les deux couleurs ensemble jusqu’à obtenir une teinte uniforme. N’hésitez pas à expérimenter en mélangeant d’autres couleurs et nuances.12 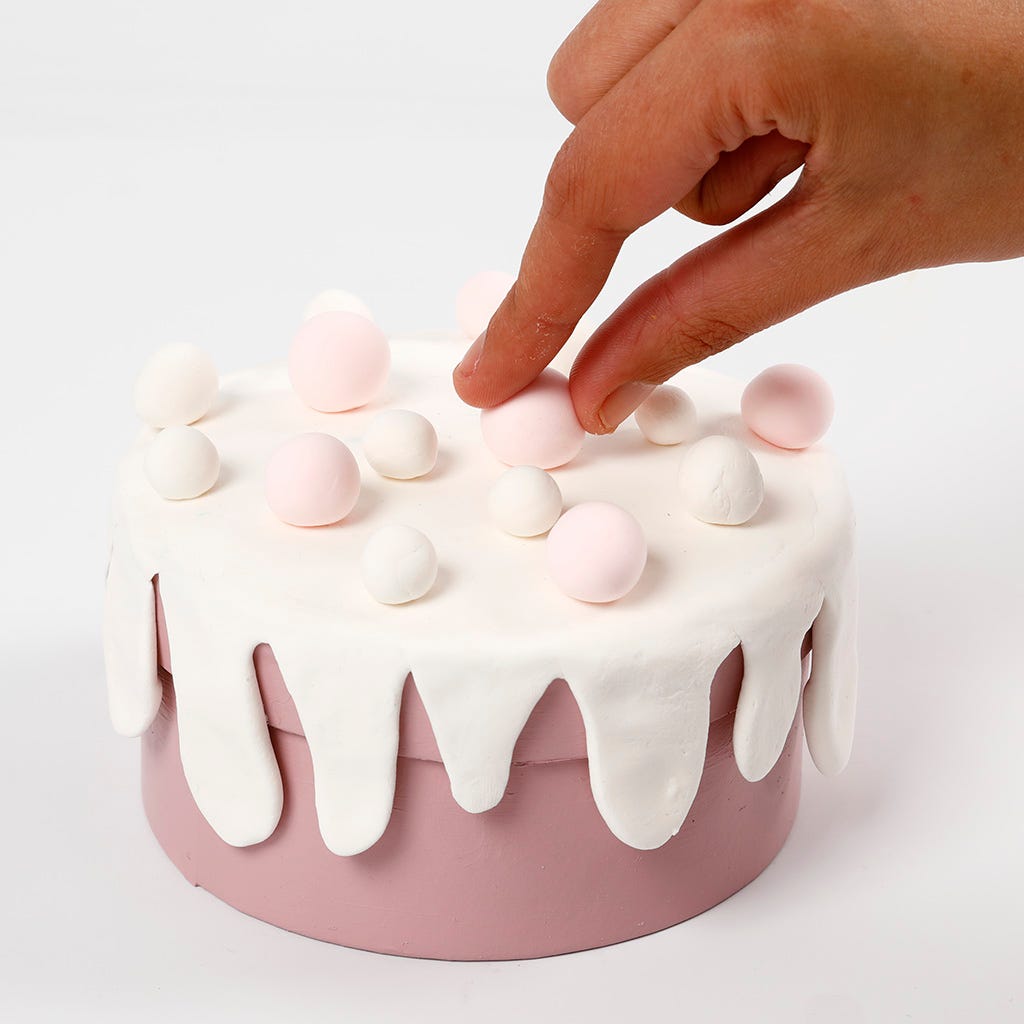 Roulez des boules de Silk Clay et fixez-les sur le couvercle de la boîte.
Roulez des boules de Silk Clay et fixez-les sur le couvercle de la boîte.13 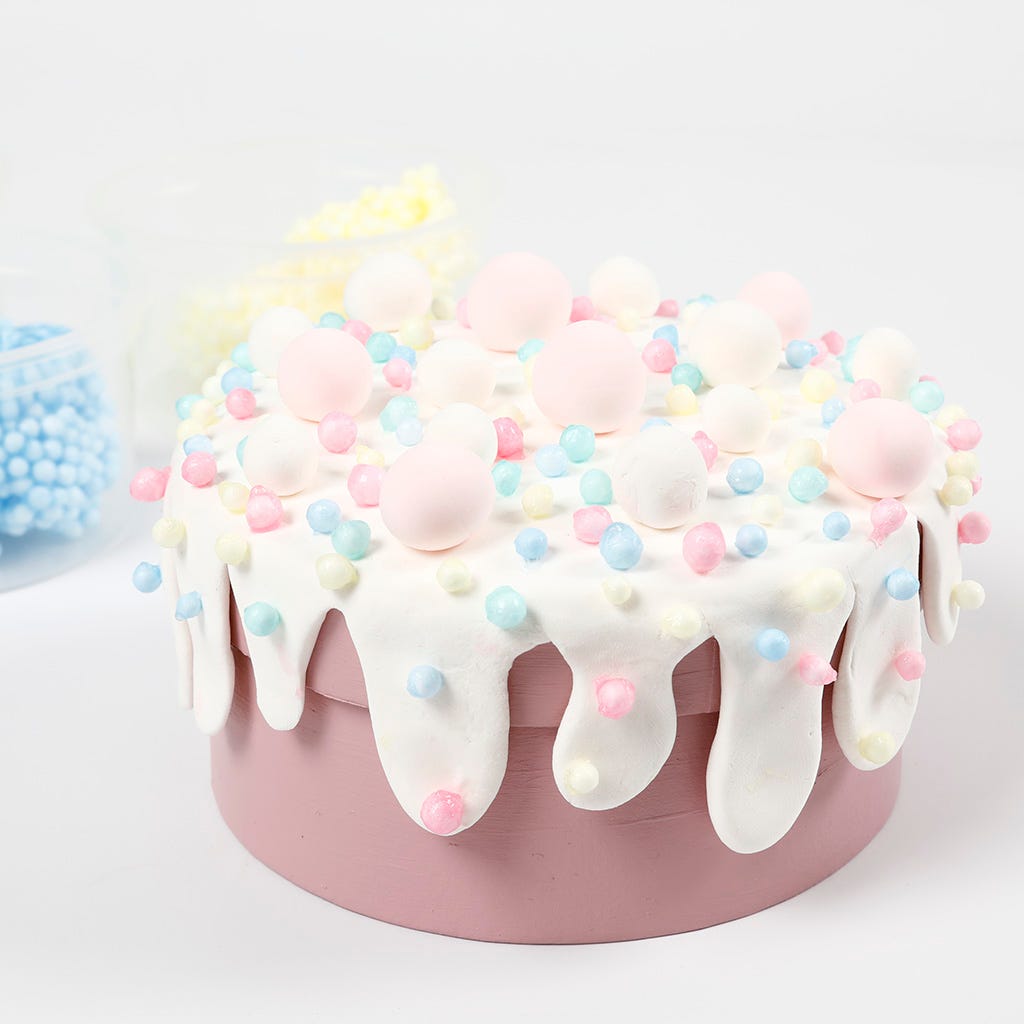 Terminez le gâteau avec des boules de Foam Clay XL de différentes couleurs. Fixez les boules individuellement pour qu’elles ressemblent à des perles de sucre. Fixez-les en appuyant légèrement.
Terminez le gâteau avec des boules de Foam Clay XL de différentes couleurs. Fixez les boules individuellement pour qu’elles ressemblent à des perles de sucre. Fixez-les en appuyant légèrement.14 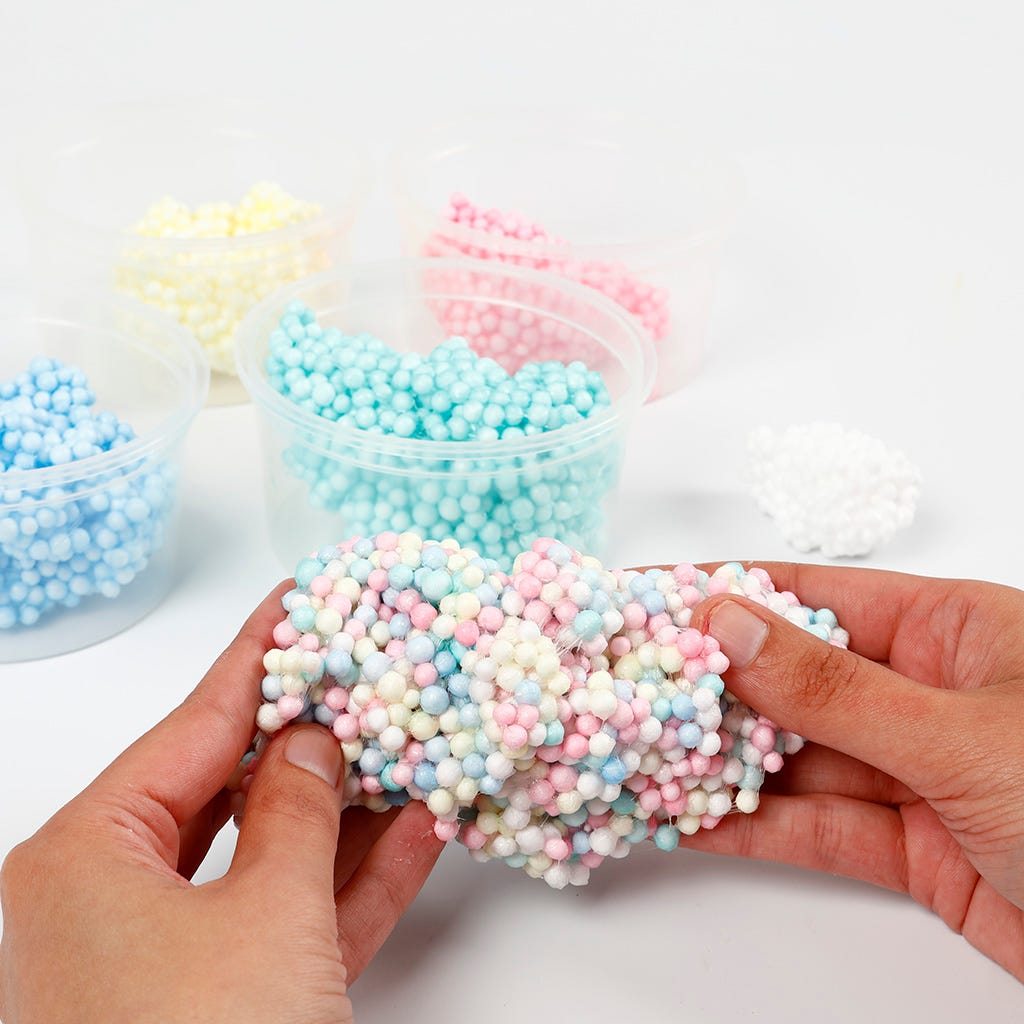 Réalisez un cupcake en pétrissant ensemble toutes les couleurs de Foam Clay XL. Prenez une portion de chaque pot et malaxez-les dans vos mains jusqu’à obtenir la consistance et l’aspect souhaités.
Réalisez un cupcake en pétrissant ensemble toutes les couleurs de Foam Clay XL. Prenez une portion de chaque pot et malaxez-les dans vos mains jusqu’à obtenir la consistance et l’aspect souhaités.15 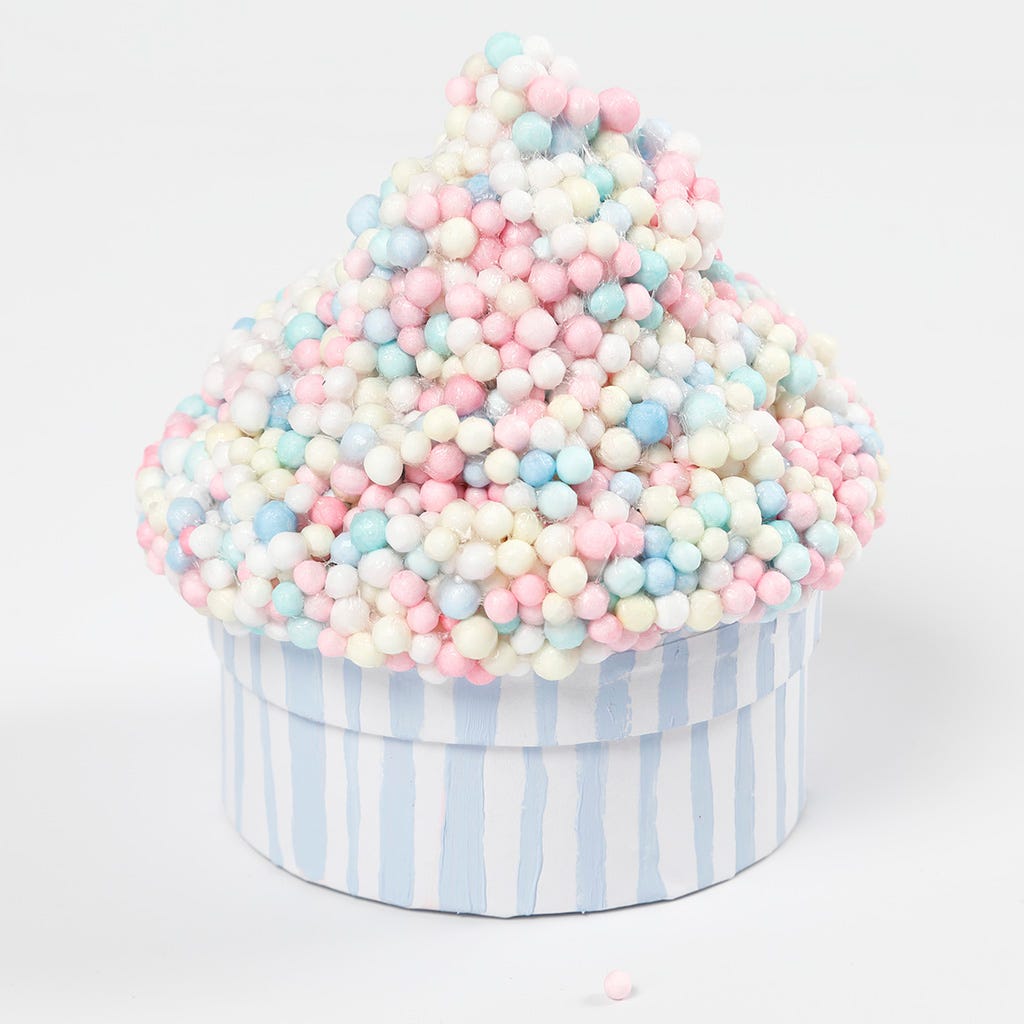 Fixez un gros amas de Foam Clay XL mélangé sur le dessus de la boîte et modelez-le avec vos mains.
Fixez un gros amas de Foam Clay XL mélangé sur le dessus de la boîte et modelez-le avec vos mains.16 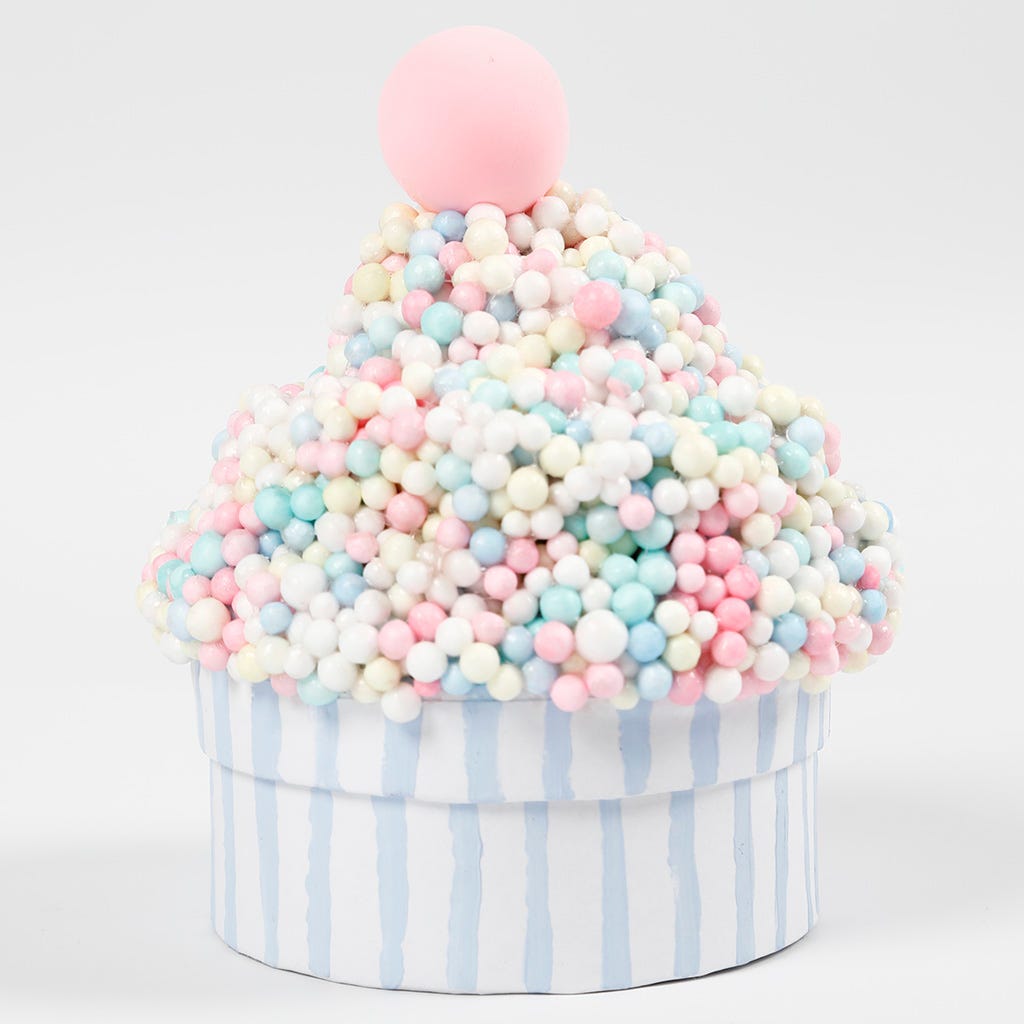 Voici le cupcake terminé avec une baie en Silk Clay sur le dessus.
Voici le cupcake terminé avec une baie en Silk Clay sur le dessus.17 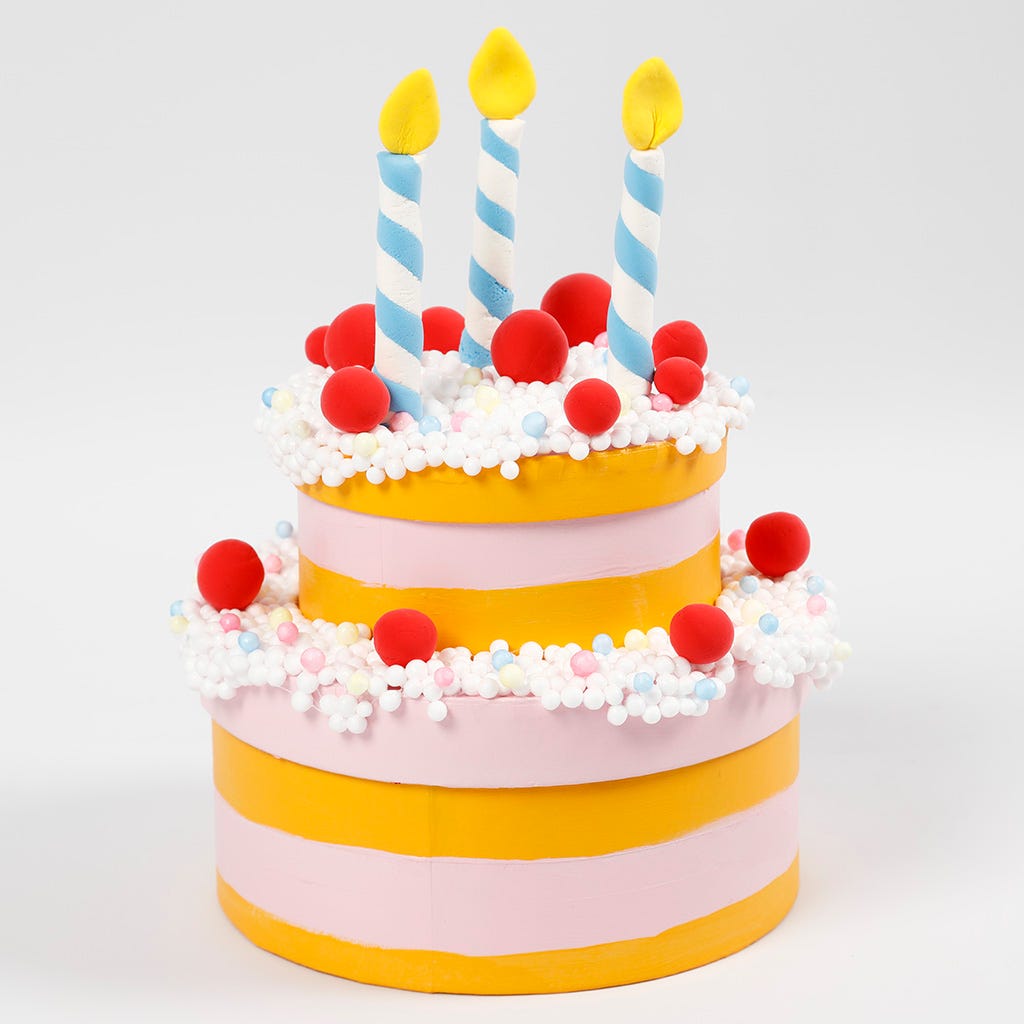 Voici le gâteau à étages terminé, décoré de bougies et de baies en Silk Clay
Voici le gâteau à étages terminé, décoré de bougies et de baies en Silk Clay18 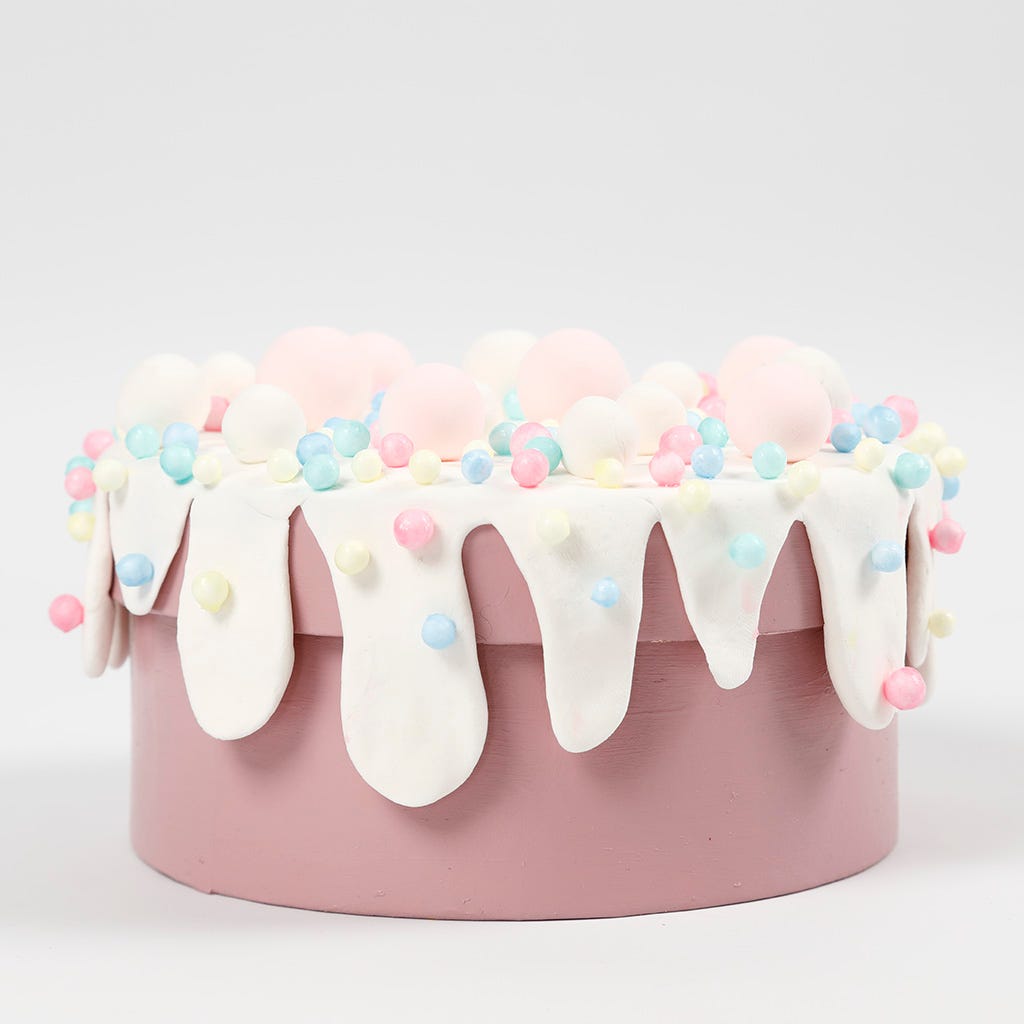 Voici le gâteau génoise terminé, décoré avec un glaçage en Silk Clay.
Voici le gâteau génoise terminé, décoré avec un glaçage en Silk Clay.Allez aussi explorer dans
