Sarong
#v11160
We have revisited the exciting technique of silk painting and made a gorgeous sarong that you can wear over your bikini on the beach. I have used black gutta, so you can control the colours and pattern on the silk. Fill in the designs with different colours. Wrap up the silk and fix it in a saucepan.
#v11160
Comment faire Téléchargez nos instructions étape par étape
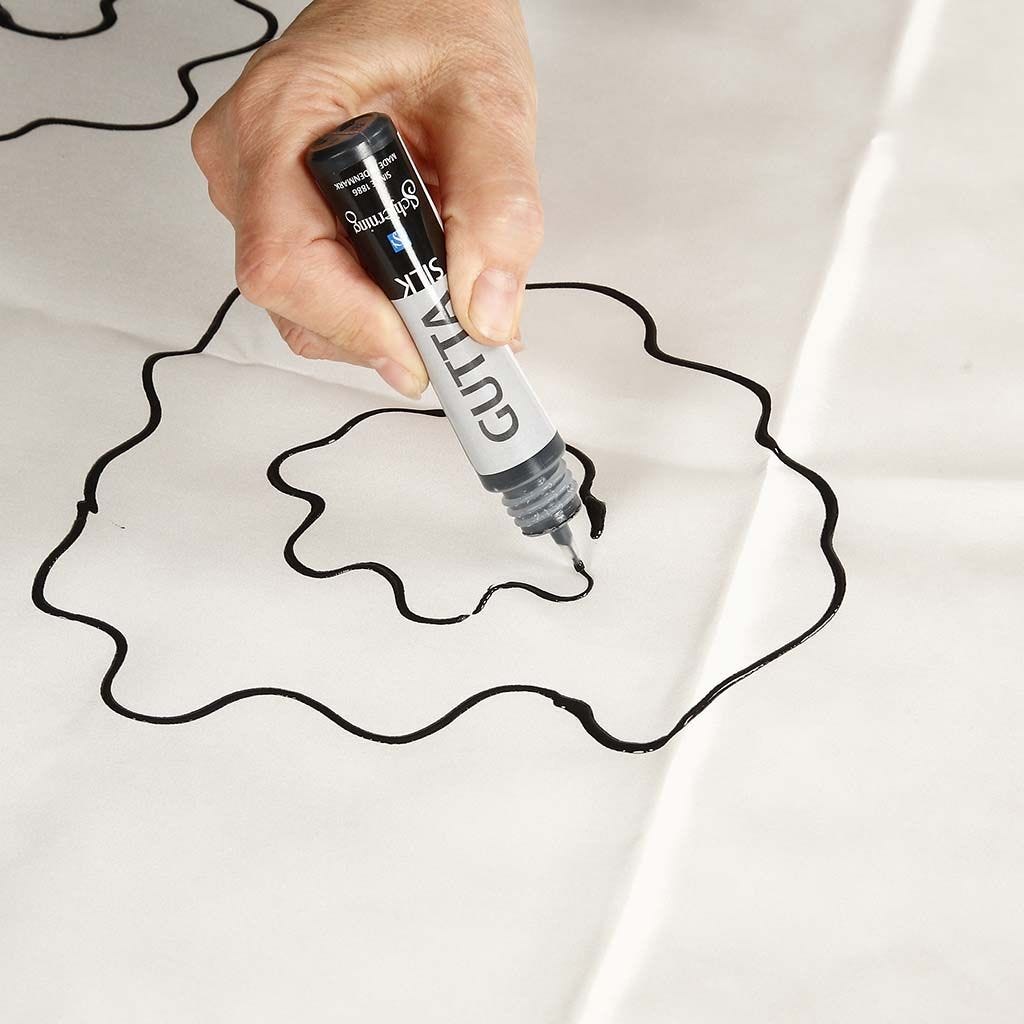
1. Cut a piece of silk measuring approx. 170cm and put it onto a piece of polyester wadding. Draw the design with black gutta and leave it to dry. The line must be continuous preventing the colours from running out.
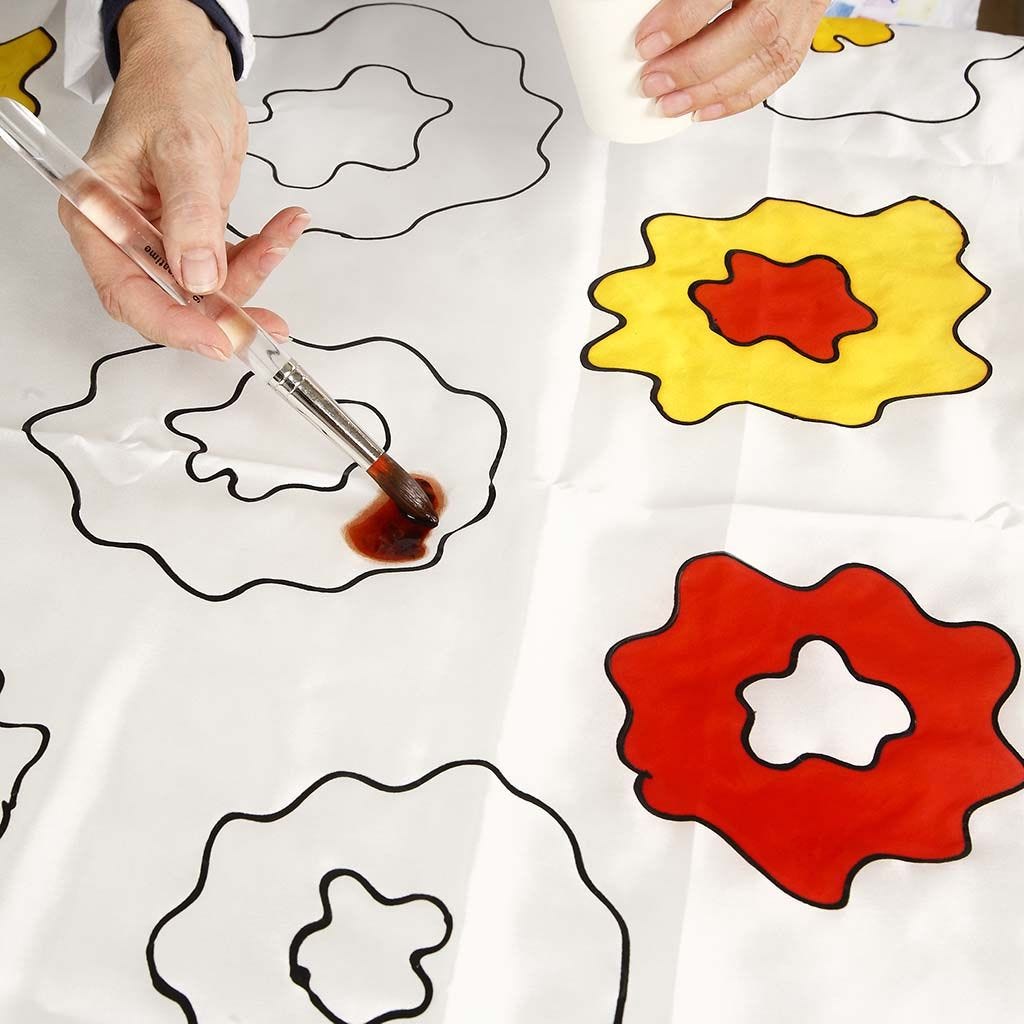
2. Fill in the design with water based silk paints. Use a good brush which can hold a lot of paint.
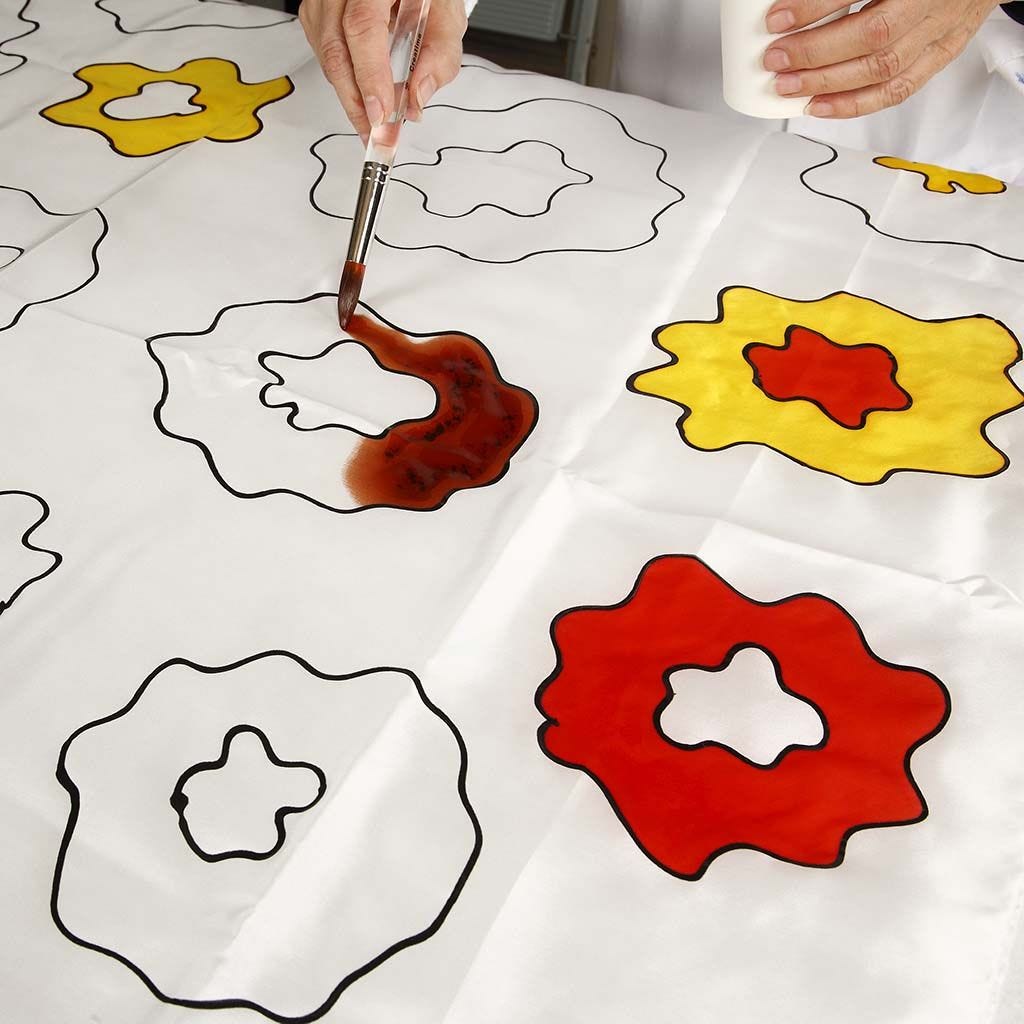
3. Painting around the outside of the design is the hardest. Make sure not to get any dry edges. Once you have started, you must complete the entire piece.

4. Paint over the dry edges. Remove any dry edges by pushing the brush well into the silk with wet paint.
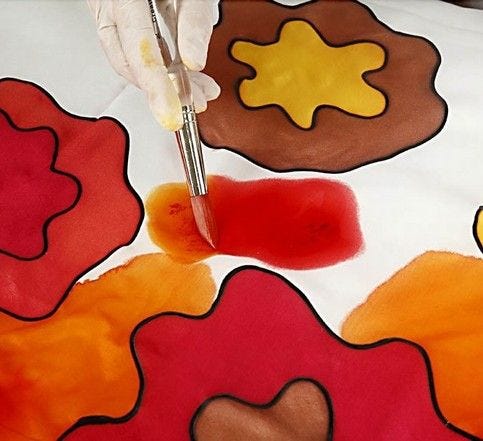
5. You can add other colours and let these run into each other to mix the colour at the edges.
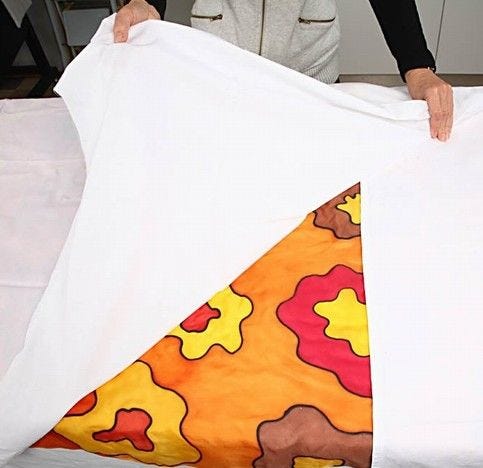
6. After drying, wrap the silk in cotton fabric. Make sure that there is fabric both over and under the silk. Silk should not touch silk.

7. Fold until you have a parcel that fits in a large saucepan. If you wish you can wrap the parcel in aluminium foil as well. This is to ensure that no water gets into the silk.

8. Put large stones or clay pots in the bottom of the pan. Pour water in the bottom and bring it to boil. The water should not touch the parcel, which is placed on top of the stones/pots. Place a towel over the saucepan before putting on the lid to prevent the condensed water from dripping. Simmer for approx. 2 hours. Now the colour is fixed.
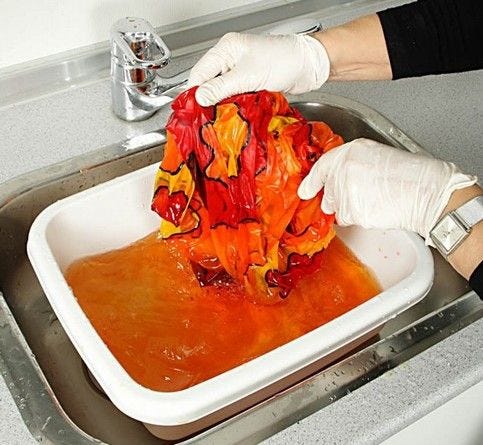
9. Rinse off the excess colour. Then dry the silk and iron when dry.
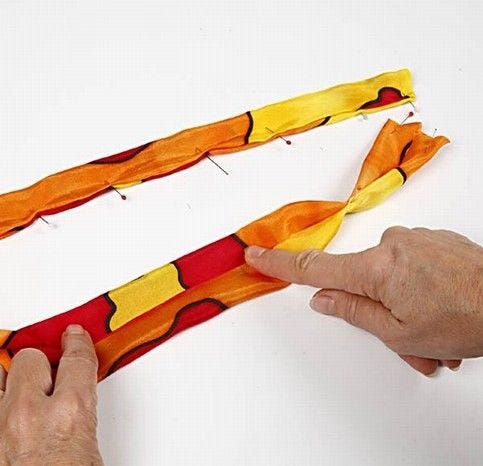
10. Cut two strips, double over and sew as shown. This is for the tie-strings.
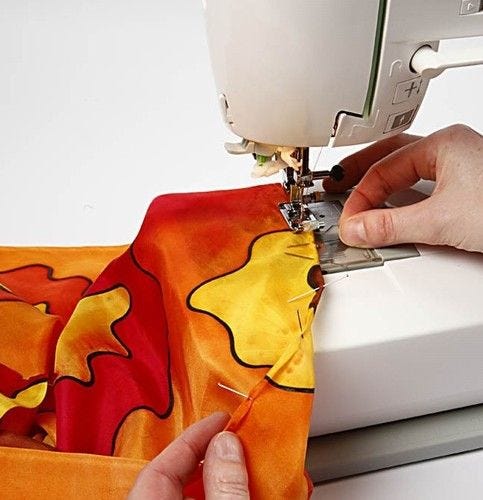
11. Sew the large piece with a small double seam on the two short sides. The selvage is along the sides. Sew on the two tie-strings.
Allez aussi explorer dans